Comment nettoyer, réparer et ranger ton équipement de camping et de randonnée

Si tu investis dans un équipement de qualité, il est essentiel de le garder propre, en bon état et rangé correctement.

TENTES ET TARPS
Ta tente est un investissement : prends soin des fermetures éclair et des revêtements pour éviter que la saleté, le sable ou l’humidité ne les endommagent.
INSPECTION ET RÉPARATION
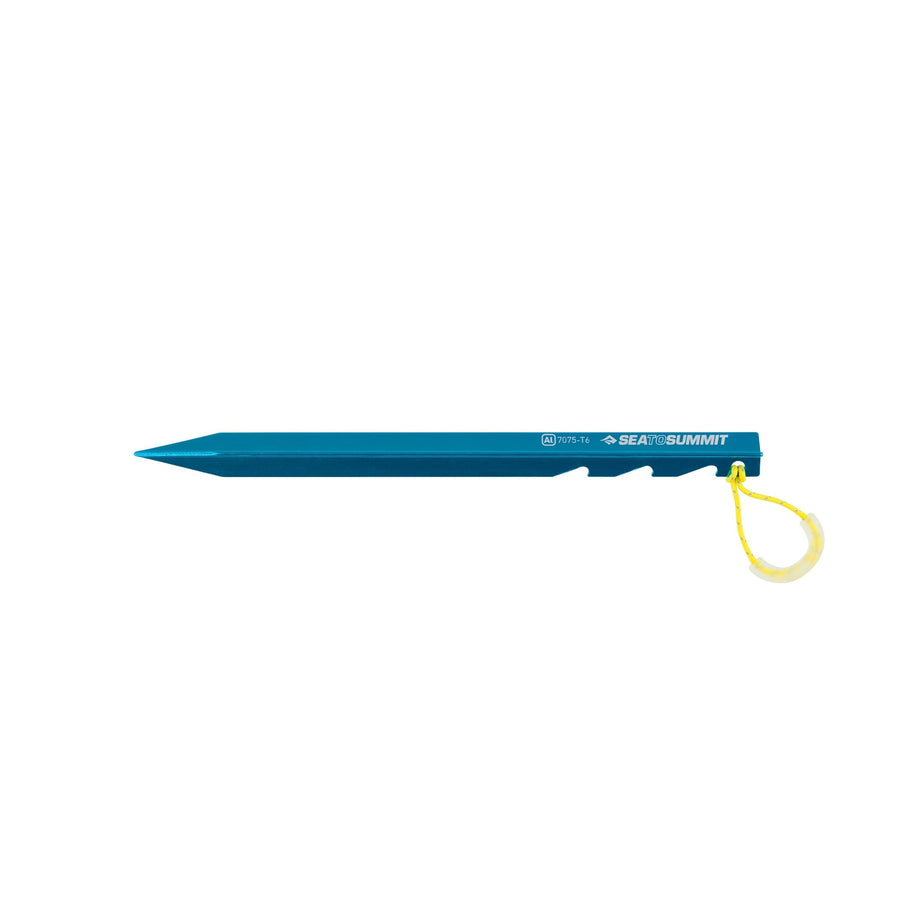
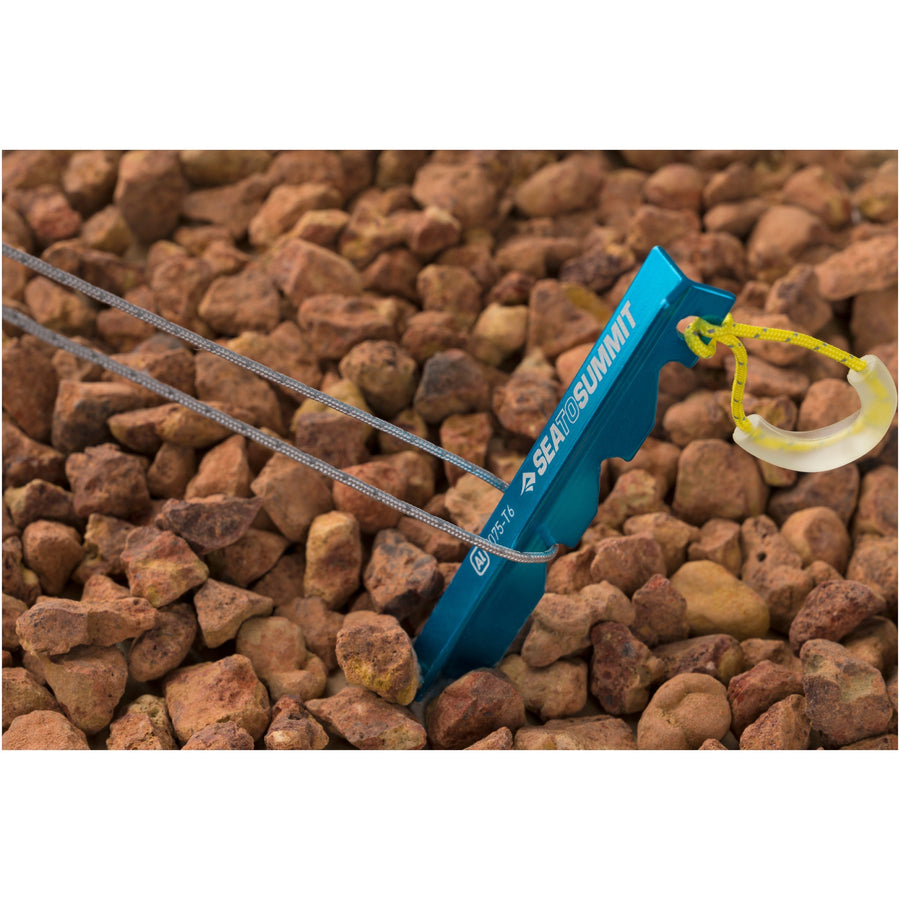
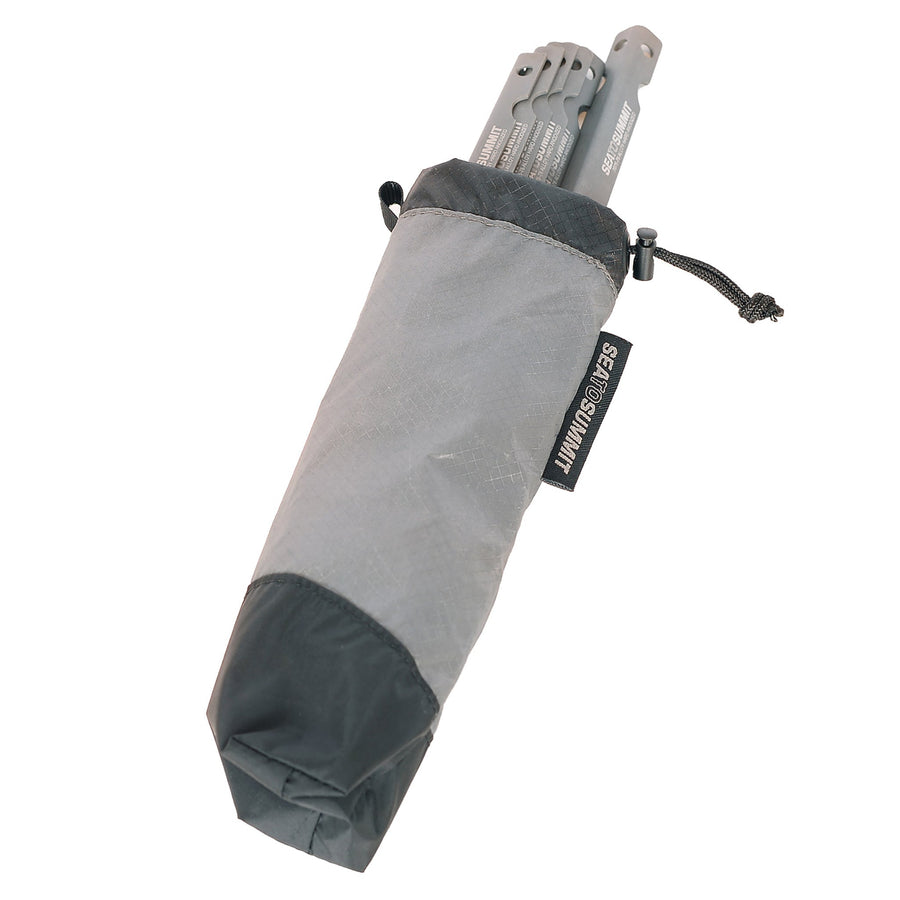
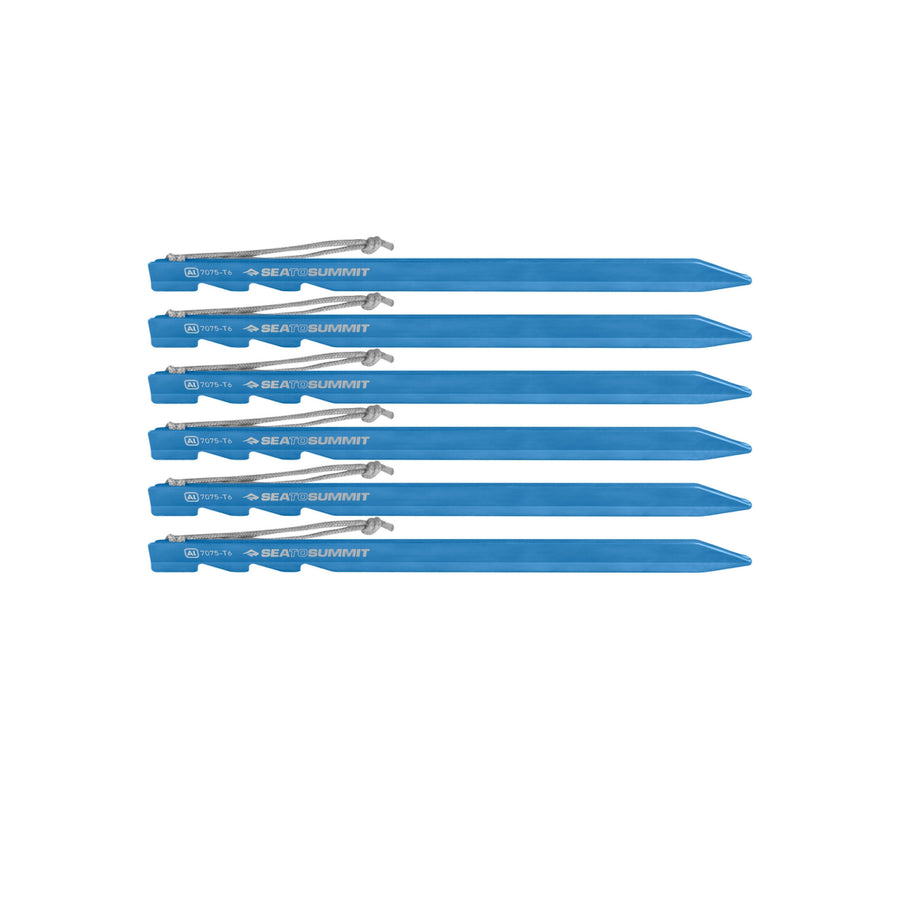
- Examine les piquets, les cordes, les tapis de sol, les fermetures éclair et le double-toit pour détecter toute usure ou déchirure. N’oublie pas de vérifier s’il y a des trous dans la doublure en maille et le double-toit. Personne n’aime passer la nuit dans une tente pleine de moustiques.
- Avant de colmater les trous, consulte les instructions du fabricant. Chaque tissu exige une méthode de réparation spécifique.
- Si ton double-toit possède des coutures étanches, cela signifie que la surface intérieure est recouverte de polyuréthane. Les tissus enduits de polyuréthane se réparent facilement avec le Seam Grip + WP de Gear Aid. Si ton double-toit n’a pas de coutures étanches, alors il est probablement siliconé. Dans ce cas, les petits trous peuvent être réparés avec le Seam Grip + SIL de Gear Aid.
Les petits trous ou déchirures dans une doublure en maille sont simples à réparer. Voici trois méthodes efficaces, que tu peux aussi combiner si besoin :
- Couds le trou avec une machine à coudre en utilisant un point zig-zag solide.
- Applique du ruban de réparation pour équipement sur les deux faces de la maille, sans oublier d’arrondir les coins.
- Colle la zone abîmée avec le Seam Grip + WP de Gear Aid en procédant avec soin, car la colle est permanente.
NETTOYAGE ET SÉCHAGE
- Secoue ta tente pour éliminer la saleté accumulée pendant l’aventure. On ne sait jamais quelles bactéries ou insectes se sont invités dans ton sac.
- Frotte la boue séchée avec une brosse douce pour ne pas endommager le tissu.
- Utilise une éponge humide pour les taches, sans détergent qui pourrait nuire au traitement déperlant. De l’eau tiède et un peu d’huile de coude suffisent dans la plupart des cas. Pour les salissures tenaces, un nettoyant spécifique pour les tentes (comme Grangers) fera des merveilles.
- Sèche ta tente à fond. L’humidité est l’ennemi des tentes bien entretenues. Suspends-la et laisse-la sécher complètement, de préférence au soleil.
IMPERMÉABILISATION
- Si le ruban d’étanchéité commence à se décoller, tu peux le recoller avec du Seam Grip + WP (tissus non siliconés uniquement).
- Si le revêtement intérieur du double-toit ou du tapis de sol s’écaille, il sera difficile de le restaurer.
- Si tu remarques que l’eau ne perle plus comme avant, applique un traitement spray DWR (imperméabilisant durable), conformément aux instructions. Choisis un produit qui offre également une protection contre les UV pour prolonger la durée de vie de ta tente.
RANGEMENT
- Ranger une tente encore humide entraîne la formation de moisissures ou l’hydrolyse.
- La moisissure est une prolifération fongique. Tu peux éliminer les spores avec du jus de citron ou un nettoyant enzymatique. Cependant, cela n’éliminera pas les taches de décoloration laissées par la moisissure sur le tissu.
- L’hydrolyse se produit lorsque le revêtement PU se décompose et devient collant. Tu t’en rends compte lorsque le tissu colle sur lui-même en dépliant la tente. Si tu détectes le problème à temps, il est parfois possible de sauver le revêtement. Mais si la dégradation est trop avancée, il n’y a malheureusement plus de solution. Pour éviter cela, range ta tente parfaitement sèche et non compressée dans un endroit bien ventilé. N’utilise pas de sac de compression ni de sac plastique hermétique.

SAC DE COUCHAGE
LAVAGE
La règle d’or : n’utilise jamais de machine à laver à chargement par le haut pour ton sac de couchage. L’agitateur central peut déplacer le duvet, déchirer les cloisons internes ou endommager les fibres synthétiques. Choisis une machine à chargement frontal, avec un cycle laine ou soie, pour laver ton sac de couchage en toute sécurité. Si tu as le moindre doute, lave-le dans une baignoire, c’est l’option la plus sûre.
- Avant de commencer, vérifie si ton sac est en duvet ou en synthétique. Le lavage d’un sac duvet diffère légèrement de celui d’un sac synthétique. Consulte notre guide complet « Comment laver ton sac de couchage » ici.
- N’utilise jamais de lessive classique pour laver ton sac, car elle peut endommager les fines plumes à l’intérieur. Opte pour un savon spécialement conçu pour le duvet, tel que Grangers Down Wash.
- Évite absolument les adoucissants. Ils enrobent les flocons de duvet et les fibres isolantes synthétiques. Cela empêche le gonflant naturel de revenir et réduit fortement la performance thermique de ton sac.
- Si tu as une baignoire, tu peux laver et rincer ton sac à la main à la maison. En revanche, sans sèche-linge, le séchage prendra beaucoup plus de temps et tu devras secouer le sac à plusieurs reprises pour redonner du volume à l’isolation.
SÉCHAGE
- Quel que soit le modèle de ton sac de couchage, sèche-le toujours à basse température ou sur un cycle froid. Les tissus extérieurs sont très délicats et sensibles à la chaleur excessive. Les sèche-linge de laveries sont souvent imprécis, alors préfère le réglage « froid ». Chez toi, règle ton sèche-linge sur une température froide également pour éviter d’endommager le tissu. Il est préférable de placer ton sac de couchage dans un grand sac en coton pour le faire sécher.
- Quelques balles de tennis placées dans le sèche-linge avec le sac permettent d’éliminer les grumeaux en toute sécurité. Le kit de lavage Grangers Down comprend des balles de séchage réutilisables parfaites pour cette étape.
- Assure-toi que le sac tourne librement dans le tambour : s’il se coince, le tissu pourrait rapidement s’endommager.
Tu sauras que ton sac est parfaitement sec lorsque tu ne ressentiras plus aucun grumeau dans l’isolation. S’il reste des amas, le sac n’est pas encore sec. Si tu le ranges ainsi, il développera des moisissures.
RANGEMENT
- Une fois ton sac de couchage complètement sec, range-le dans un espace où il n’est pas compressé. Les sacs Sea to Summit sont livrés avec un cube de rangement en tissu idéal pour cet usage. Sinon, un grand sac en coton fera parfaitement l’affaire.
- Pour un sac synthétique, il est préférable de le bourrer librement plutôt que de le plier et de le rouler. Plier et rouler toujours de la même manière peut fissurer les fibres au centre et créer des points froids.
- Tu connais sûrement la consigne « ranger dans un endroit frais et sec ». Ton garage ne correspond sans doute pas à cette description. Choisis plutôt un endroit à l’intérieur, à l’abri de la lumière directe, bien ventilé, où la température et l’humidité sont stables.

DRAPS DE SAC
Pour réduire la fréquence de lavage de ton sac, utilise un drap de sac. Ils empêchent la saleté et la sueur de pénétrer dans ton sac, sont lavables en machine et sèchent très rapidement.
- Pour laver ton drap, secoue-le pour enlever l’excès de saleté, puis lave-le en suivant les instructions sur l’étiquette. Évite les adoucissants : ils réduisent la respirabilité et la capacité d’absorption du tissu.
- Attache ton drap à une corde à linge pour le séchage. C’est aussi simple que ça.
- Tu peux ranger ton drap presque partout.

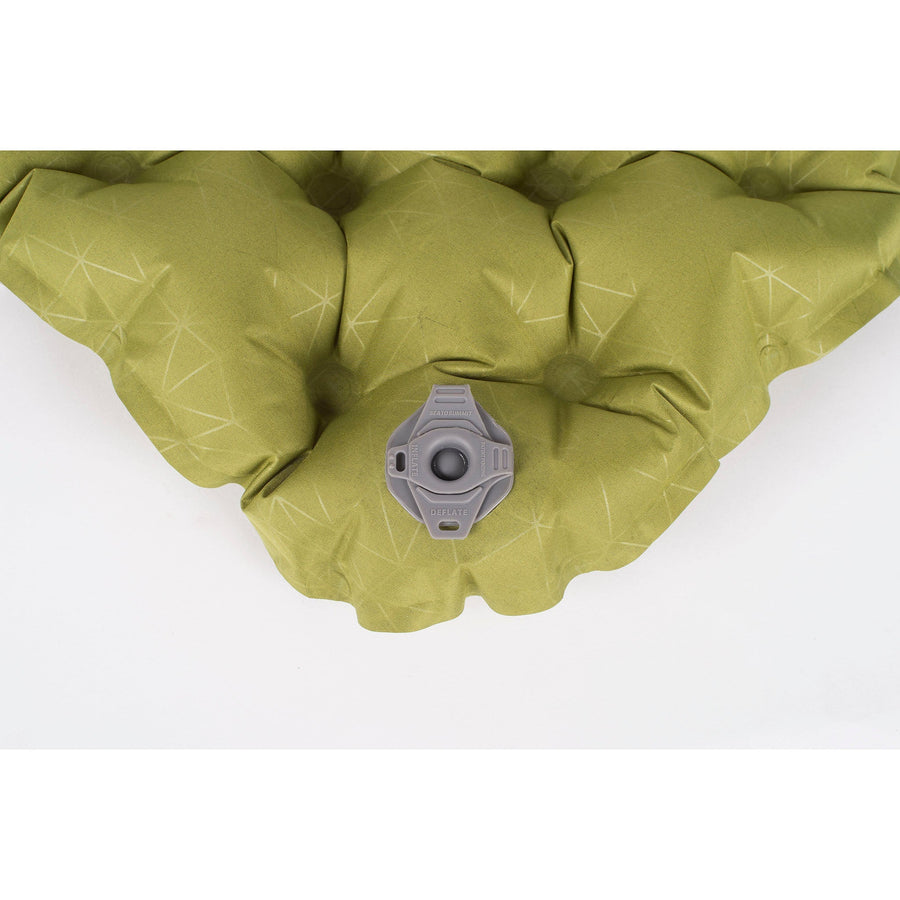
MATELAS DE COUCHAGE
INSPECTION ET RÉPARATION
- Vérifie qu’il n’y a pas de perte d’air. Gonfle ton matelas aussi fermement que possible, puis laisse-le reposer quelques heures. Place quelques objets lourds dessus pour vérifier qu’il ne se dégonfle pas pendant la nuit.
- Si tu remarques une perte d’air, pas de panique, voici comment le réparer.
NETTOYAGE ET RANGEMENT
- Secoue ton matelas pour enlever la saleté, puis nettoie-le avec un chiffon humide si nécessaire.
- Pour les modèles autogonflants, range-les à plat sous ton lit ou dans un espace ouvert (la valve doit rester ouverte).
- Les matelas gonflables, quant à eux, doivent être rangés pliés, sans trop les serrer, avec la valve ouverte.

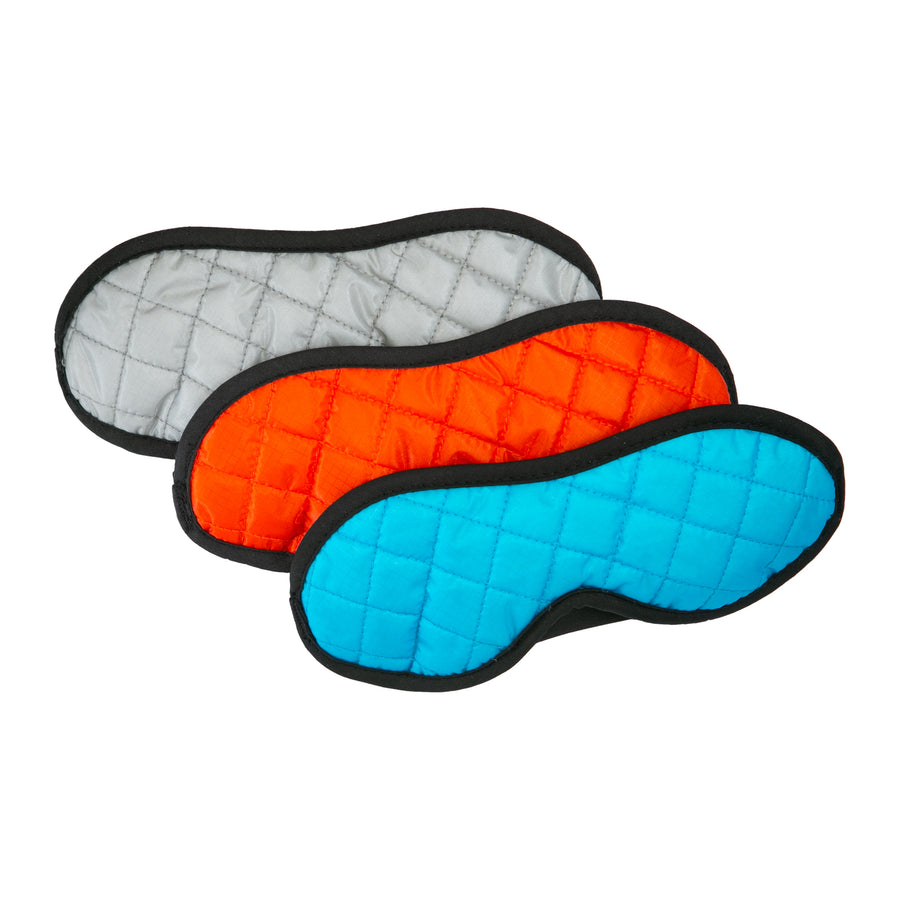
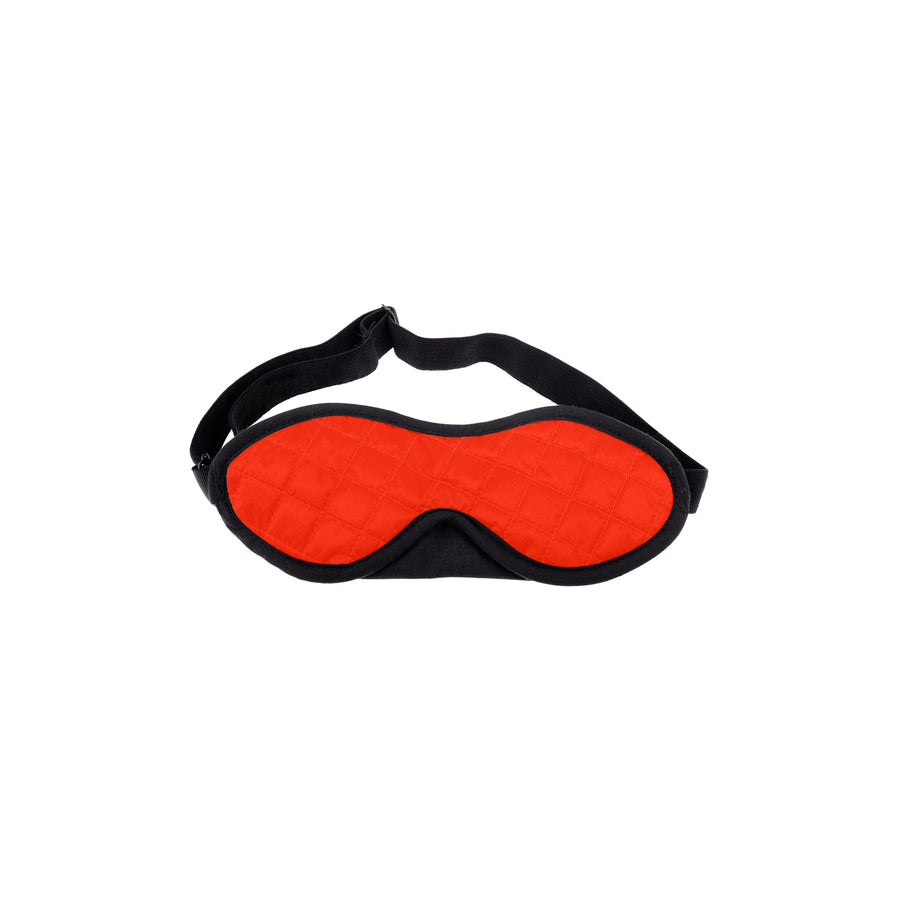
OREILLER DE CAMPING
- Si ton oreiller de camping est sale, dégonfle-le, ferme la valve et lave-le délicatement à la main. Évite absolument la machine à laver : l’agitation pourrait déplacer la poche interne et rendre l’oreiller inutilisable.
- Laisse sécher ton oreiller à l’air libre et range-le avec les autres équipements de ta solution de couchage.
GADGETS ET APPAREILS ÉLECTRONIQUES DE CAMPING
- Retire toujours les piles de tes lampes de poche et autres appareils électroniques avant de les ranger. Cela évitera les risques de corrosion.
- Garde ton matériel dans un endroit sec et sûr. Un bac en plastique avec couvercle est parfait pour éviter l’humidité et la poussière.

CUISINE DE CAMPING
- Nettoie tout ton matériel de cuisine jusqu’à ce qu’il soit impeccable. Même les plus petites miettes peuvent attirer les rongeurs.
- Vérifie que ton kit est complet. Il serait dommage de partir en randonnée sans ta cuillère-fourchette préférée.
- Si tu remarques qu’il te manque quelque chose, remplace-le immédiatement. Dans quelques mois, tu risques d’oublier ce détail crucial avant ton aventure.

RÉCHAUD
- N’oublie pas de retirer la cartouche de gaz de ton réchaud de camping.
- Conserve toujours tes cartouches de gaz loin de toute source de flamme.
- Si ton réchaud est équipé d’un allumeur piézo, vérifie qu’il fonctionne correctement. Remplace-le si besoin.
- En conditions froides, tu remarqueras peut-être que ton réchaud à cartouche perd en puissance. Le gaz liquide a du mal à s’évaporer. Fabrique-toi un manchon isolant maison. Prends un vieux matelas en mousse, découpe un cercle pour la base et un rectangle pour l’enveloppe. Assemble le tout avec de la colle chaude. Et voilà !
- Si tu utilises un réchaud à combustible liquide, un bon entretien est indispensable. L’essence contient des additifs qui peuvent encrasser les jets et réduire l’efficacité. Nettoie le jet régulièrement et assure-toi que le filtre interne de ta bouteille est en place. Il n’est pas difficile de nettoyer et d’entretenir le jet d’un réchaud à combustible liquide. Réfère-toi aux instructions du fabricant, chaque modèle a ses spécificités.
CHAUSSURES DE RANDONNÉE
- Avant d’entretenir tes chaussures, assure-toi qu’elles soient bien propres. Brosse la boue séchée et essuie les taches avec un chiffon humide.
- Retire les semelles intérieures et les lacets pour les nettoyer à part. Remplis une bassine d’eau tiède et ajoute quelques gouttes de Grangers Footwear + Gear Cleaner. Agite doucement pour nettoyer la membrane (si tes chaussures en ont une) et l’intérieur de la chaussure.
Utilise la même solution pour frotter la tige, les lacets et les semelles intérieures. Insiste bien dans les petits recoins et rivets avant de rincer abondamment. Si nécessaire, répète l’opération. - Essuie l’excès d’eau avec une serviette ou un chiffon propre. Remplis ensuite tes chaussures de papier journal pour absorber l’humidité restante. Cette étape empêche les produits imperméabilisants de pénétrer à l’intérieur de tes chaussures et leur permet de sécher plus rapidement.
- Applique ensuite un traitement imperméabilisant tel que Grangers Footwear Repel. Celui-ci agit comme première ligne de défense, en éloignant davantage l’humidité de la membrane et en permettant à tes chaussures de mieux respirer. Le produit pénétrera mieux si tes chaussures sont encore humides.
- Le sel provenant de la transpiration et les séchages répétés lors d’aventures par temps humide assèchent et font craquer les chaussures en cuir. Pense à appliquer un conditionneur pour éviter ce problème. La cire d’abeille est idéale : elle nourrit le cuir et ajoute une couche d’imperméabilisation naturelle.
Ne sèche jamais tes chaussures en cuir près d’un feu ou d’un radiateur. La chaleur directe peut détériorer les colles, dessécher le cuir et le faire craquer. La température ambiante est ta meilleure alliée.

SAC À DOS
- Vide toutes les poches de ton sac à dos, puis aspire cette saleté de provenance mystérieuse qui se trouve au fond.
- Utilise une brosse douce pour enlever la boue et nettoie les taches avec une éponge humide.
- Laisse ton sac à dos sécher à l’air libre avant de le ranger.
- Petit conseil malin : glisse un stick solaire et un baume à lèvres dans le rabat ou une poche intérieure. Quelqu’un en aura forcément besoin lors de ta prochaine sortie.
TROUSSE DE PREMIERS SECOURS

- Prépare bien ta trousse de premiers secours pour qu’elle soit complète et à jour.
- Remplace les articles utilisés lors de ta dernière rando.
- Regarde aussi les dates de péremption des produits.
GARDE TOUT BIEN ORGANISÉ
Évite de perdre du temps à chercher ton équipement juste avant de partir en aventure.
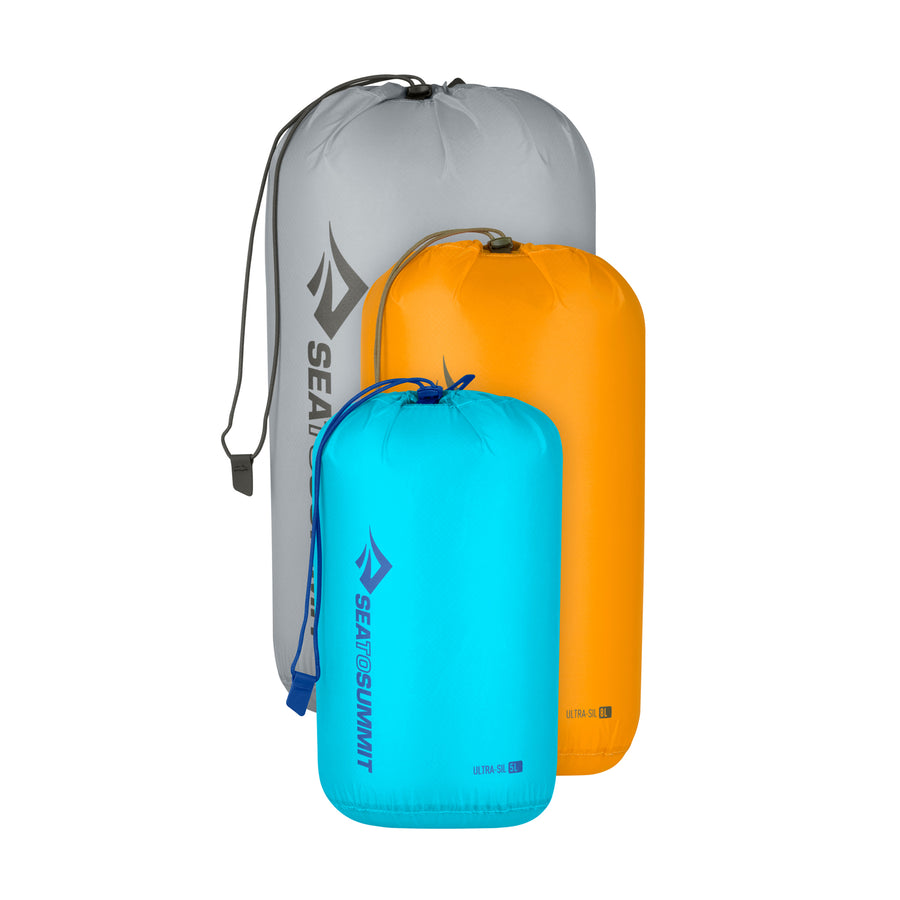
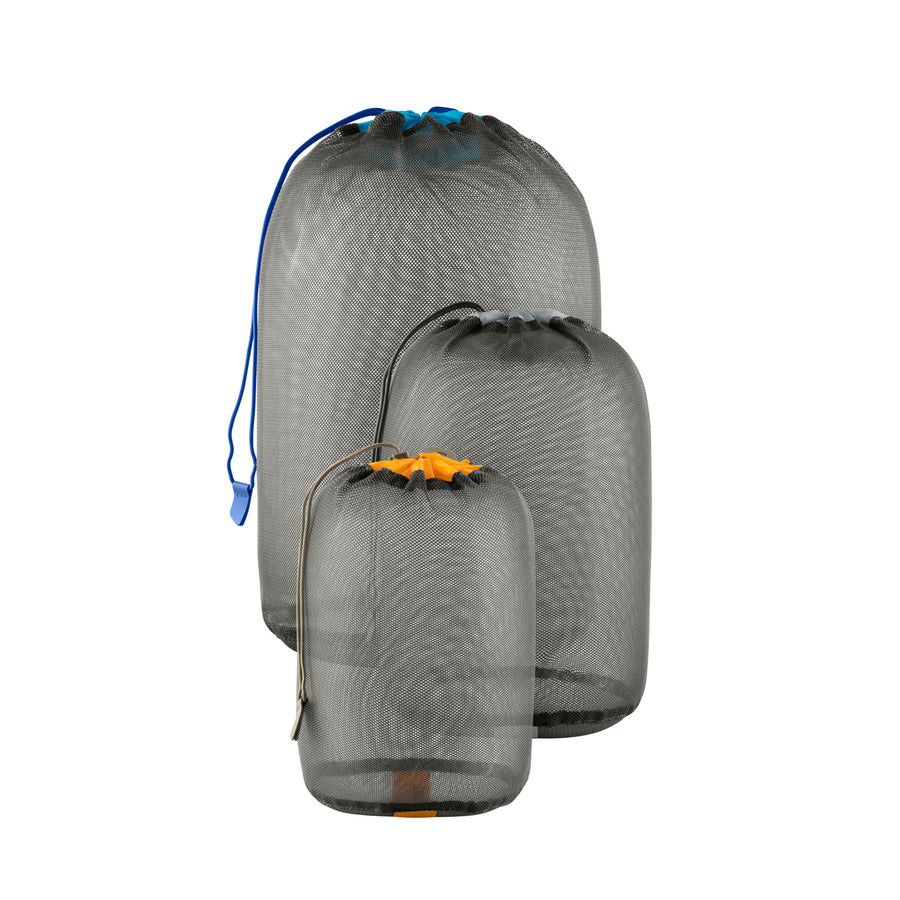
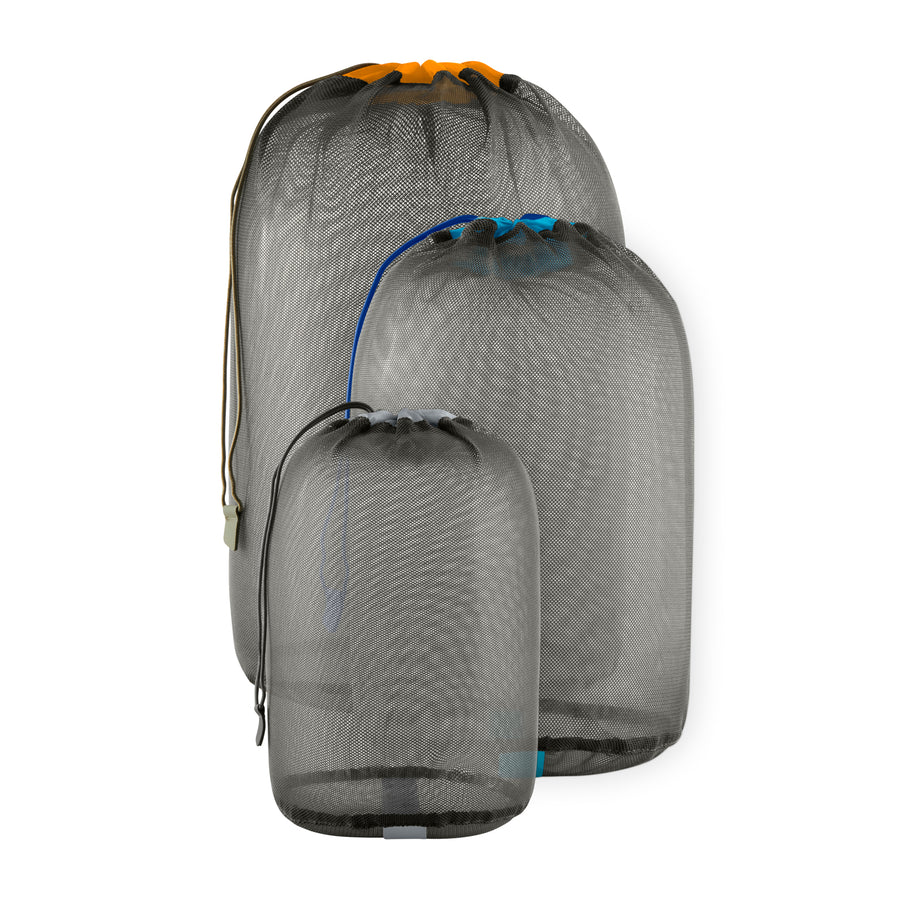
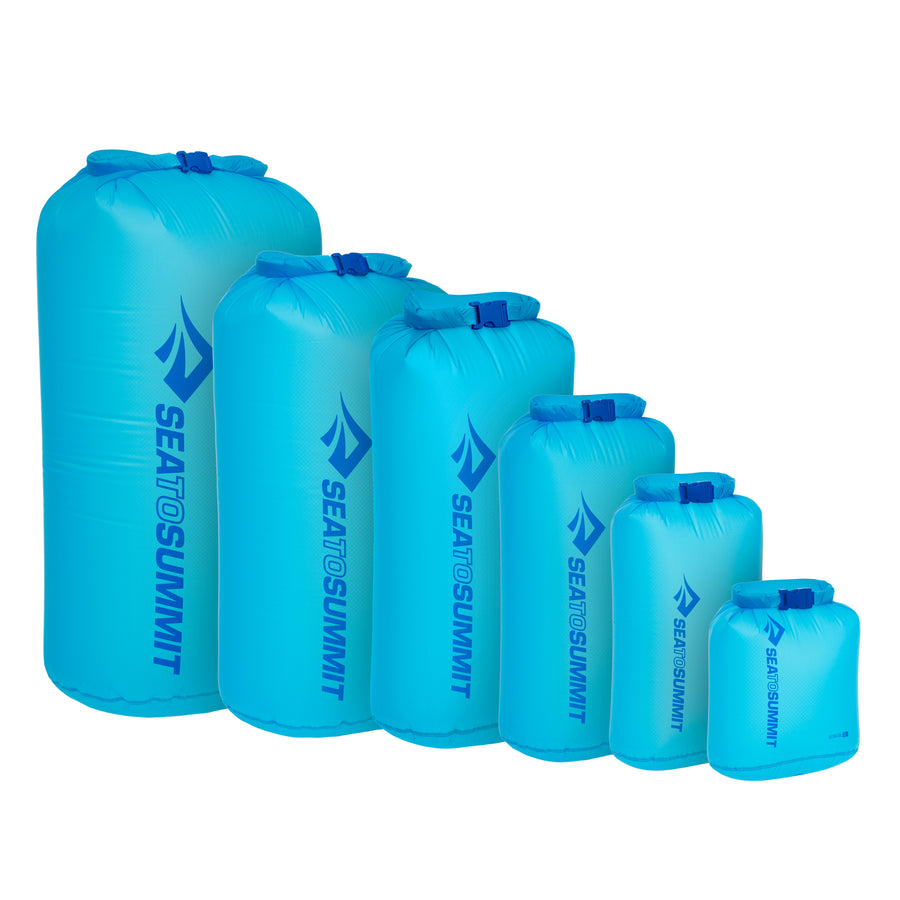
Utilise du matériel de rangement adaptés pour garder ton équipement bien au sec. Évite les contenants totalement hermétiques pour ce qui est couvert de polyuréthane. Un taux d’humidité trop important à l’intérieur peut détériorer les enductions et rendre le tissu collant. Cela arrive souvent à certaines tentes entreposées.
C’EST POURQUOI IL EST IMPORTANT DE CONSERVER LES SACHETS DE GEL DE SILICE
Range ton équipement dans des bacs ventilés (avec un ou deux sachets de silice) pour éviter que l’humidité ne vienne l’endommager.
Organise tes bacs de façon à pouvoir partir rapidement en aventure, avec tes essentiels à portée de main.
Étiquette chacun selon l’équipement, la saison ou l’activité (solution de couchage, équipement de cuisine, appareils électroniques, etc.). Glisse dans les bacs une liste détaillée de ce qu’ils contiennent, surtout si certains articles sont stockés ailleurs.
Si tu es adepte de la rando ultralégère, note aussi le poids de chaque équipement, c’est utile. Cela peut vraiment faire la différence quand tu optimises ton sac pour des expéditions plus légères.
Voici des exemples de catégories d’équipement à ranger ensemble :
- Solution de couchage : sac de couchage, drap, matelas, tente et tarp, oreiller et taie
- Cuisine de camping : ustensiles de cuisine, vaisselle, réchaud, bonbonne de gaz
- Appareils électroniques et accessoires de camping : piles, éclairage, boussole, autres technologies
- Accessoires portables : bottes, sac à dos, vêtements haute performance, serviette en microfibre
- Divers : l’équivalent du tiroir à bric-à-brac à la maison, version camping

![[12 Pack] || Wilderness Wipes](http://seatosummit.eu/cdn/shop/files/AWWC_WildernessWipes-12PackWhite_PRIMARY-1200x1200-9239c17.jpg?v=1755780879&width=900)
![[8 Pack] || Wilderness Wipes](http://seatosummit.eu/cdn/shop/files/AWWXL_WildernessWipes-8PackWhite_PRIMARY-1200x1200-9239c17.jpg?v=1755780878&width=900)