Was du für eine einwöchige Rucksackreise einpacken solltest (ENG)

This article and gear list assumes two people hiking in moderate, non-technical terrain in late Summer/early Fall. It has been revised to include some innovations including tents, sleeping mats and X-Pots.
It is, of course, impossible to come up with gear suggestions that work for everyone: climatic conditions and geographical terrain vary from region to region, people’s comfort levels differ, and besides, you already own some gear. The following is therefore a general guide.
What to take with you:
1. Less than you think
It’s very easy to fall into the trap of getting hold of a 5000 cu in / 80 liter backpack and stuffing in gear until it’s full. It’s a lot more difficult to then carry that pack…

2. A tent
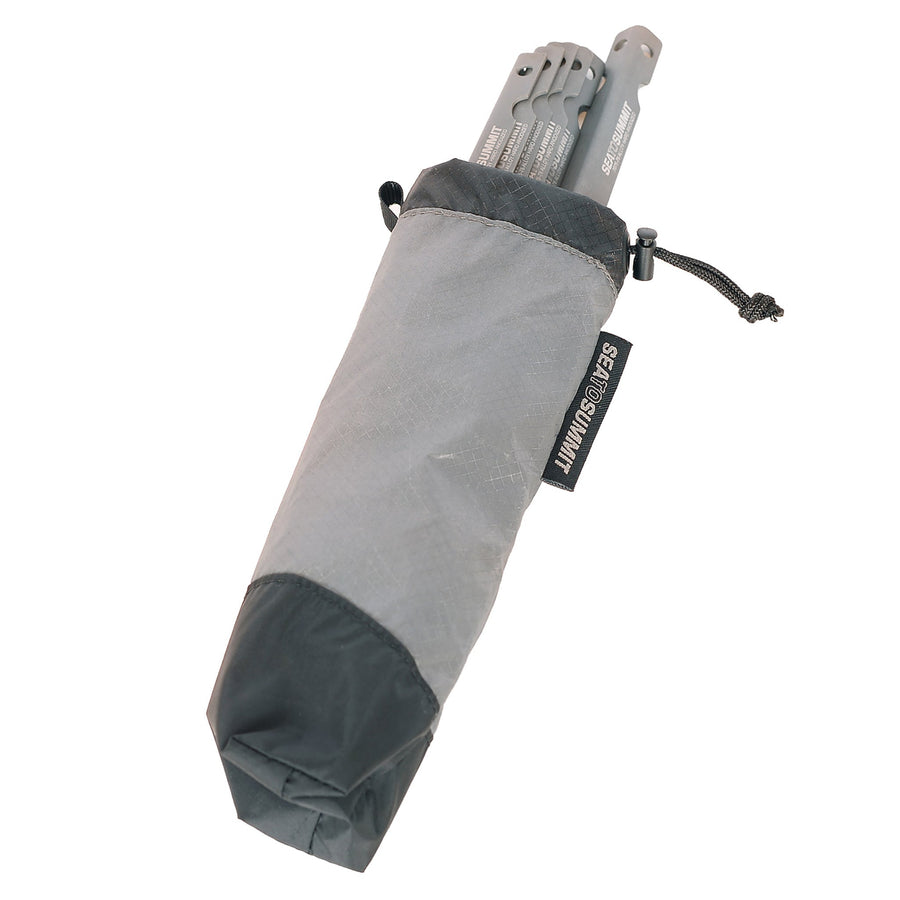
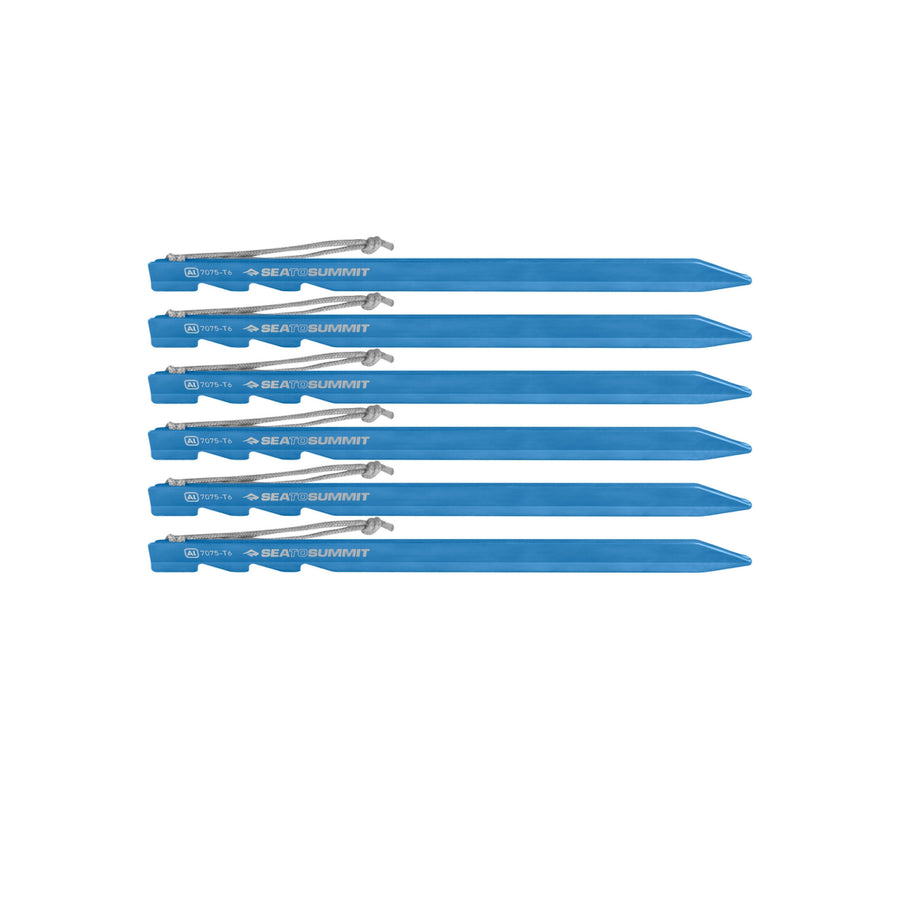
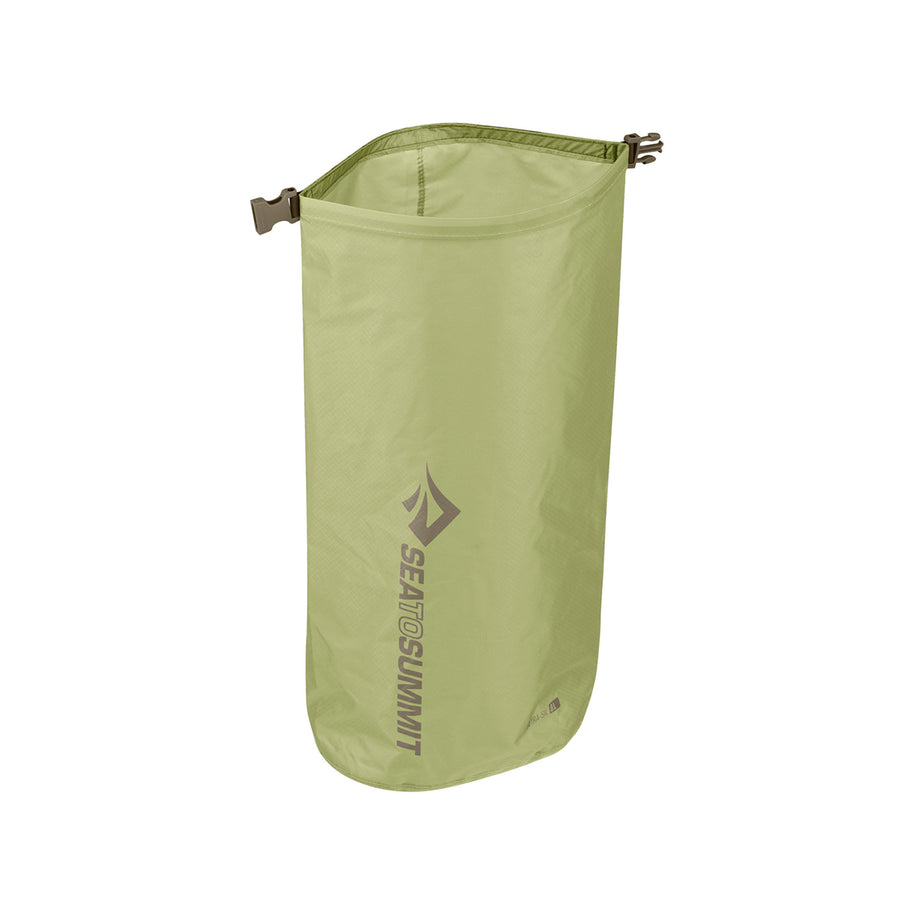
Your tent belongs on the inside of your backpack, safe from the possibility of snagging against sharp objects. Strap the poles of the tent underneath the compression straps on the outside of the pack, put the canopy inside the pack in a Lightweight Dry Sack. Occasionally we’re asked about compression sacks for tents – a tent canopy won’t compress by more than 10%, so it’s hard to see the justification for the weight or cost of a compression sack.
There are dozens of tent models on the market and hundreds of opinions about what works best. If you don’t yet own a tent, when looking at them in the store, try and imagine how easily you could pitch one in unexpected bad weather, how well it would keep out the rain, how well you can ventilate the inner tent and where you’d put wet gear.
You may find that conversations around tents focus on two simple questions: ‘How much does it weigh?’ and ‘How much does it cost?’ As a result of this very narrow line of thinking, useful qualities – such as ease of pitch, weatherproofness, inner climate or (most particularly) useable headroom/space – often get overlooked. The Ask Baz team refers to these aspects of tent design as ‘livability’.
Sea to Summit’s new Alto and Telos tents score extremely highly in this regard. In addition to livability, ask how waterproof (the technical term is ‘hydrostatic head’) the floor and rain fly are – this is an extremely important consideration if you will be camping in wet weather – a good backpacking tent will have a floor with a hydrostatic head of at least 2500mm.
Learning how to choose a good campsite is a valuable skill – finding a spot which will provide some shelter from prevailing winds and which is flat and well-drained can make the difference between a miserable, damp night being disturbed by the tent flapping in the wind and a good night’s sleep. Check out the blog post about ‘how to choose a good campsite’.

3. A sleeping bag and sleeping pad
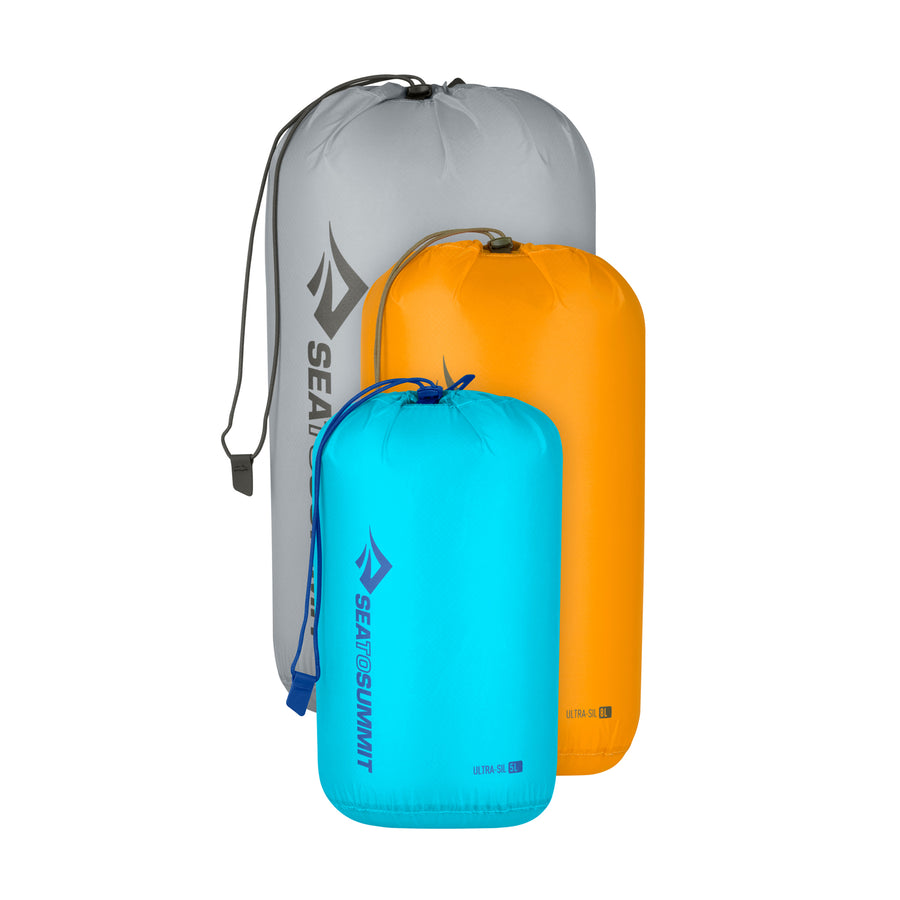
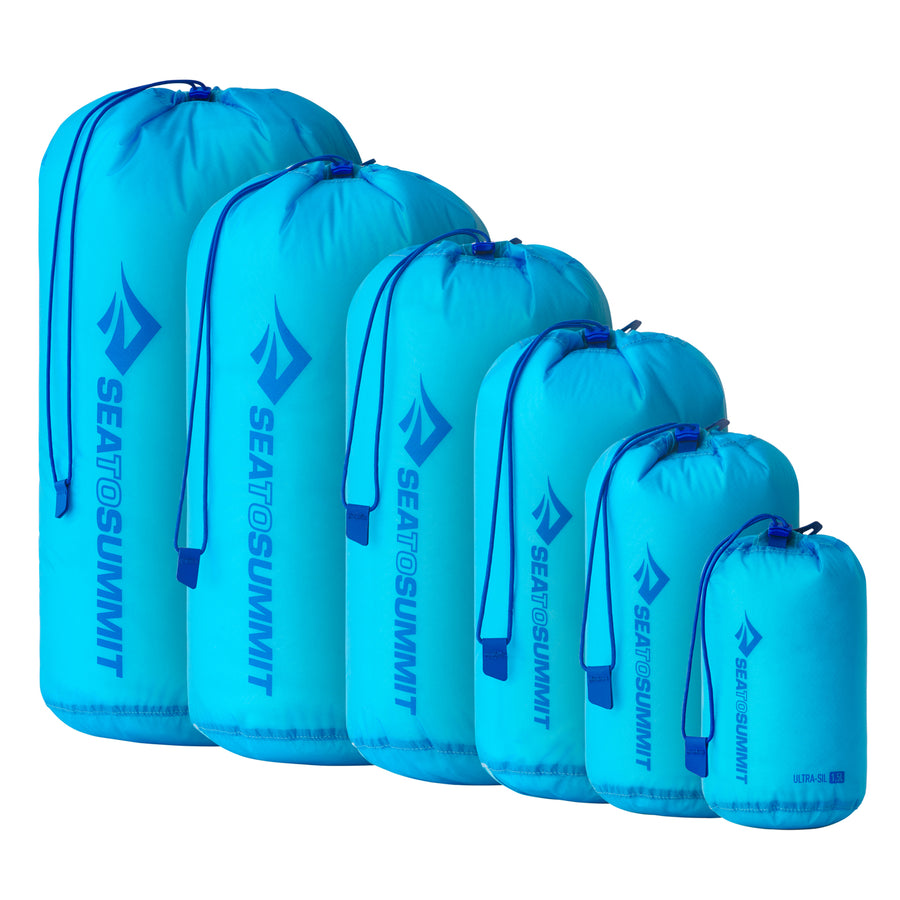
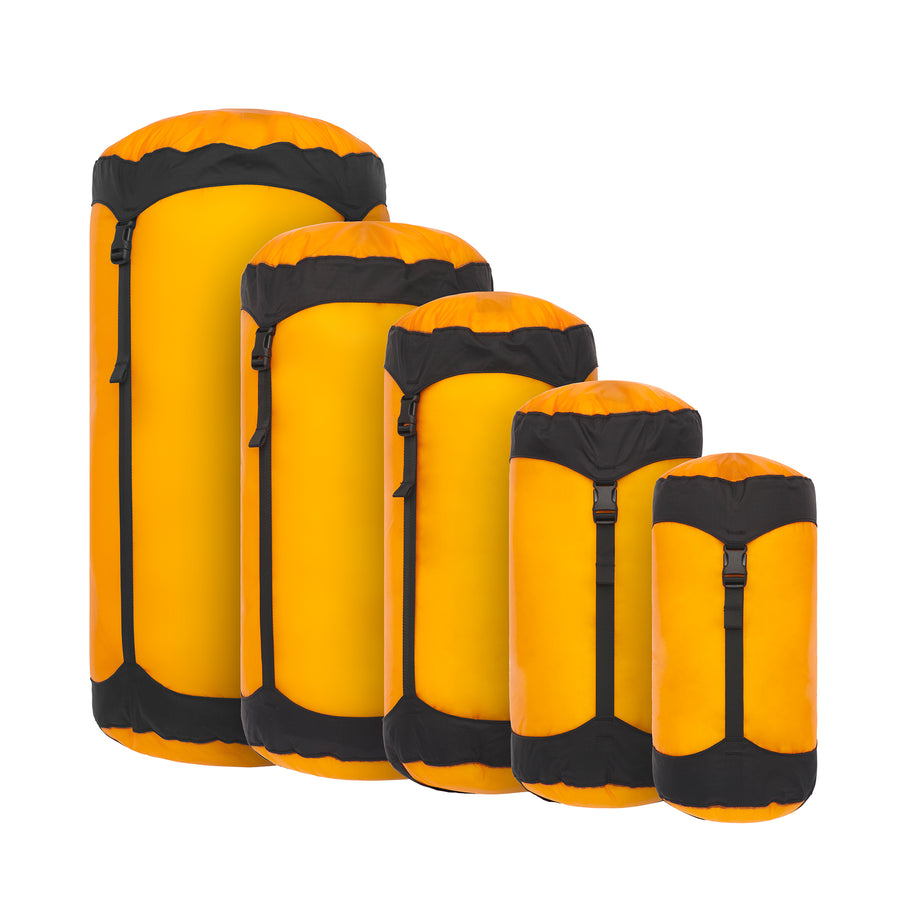
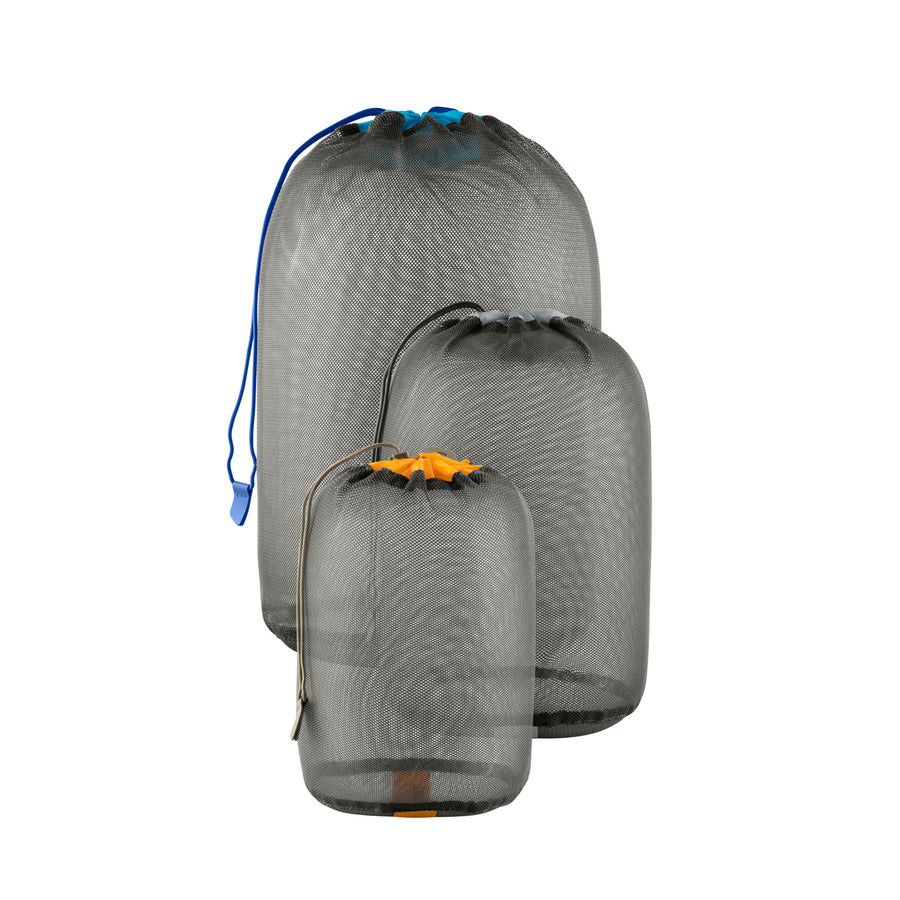
Same story: your sleeping bag belongs inside the pack out of harm’s way. My favorite sack to pack a sleeping bag in is the eVac Dry Sack – it keeps my bag dry, it’s light and best of all, once I’ve packed my sleeping bag inside it, I sit on it and the excess air just squeezes out. The oval shape makes for a nice easy-to-pack flat package. If you currently own a bulky sleeping bag, it really is worth investing money in a lighter, more compressible model – for Summer/early Fall use, your bag shouldn’t take up more than 8 liters or so before compression. A compression sack is really only necessary if you’re really tight for space.
There are also dozens of sleeping bags on the market and just as many opinions about what is ‘best’. If I may add my 2 cents worth: be skeptical about temperature ‘ratings’ – ask if the bag has been rated using the EN Norm, and if it has, make sure you understand how this rating system applies to you. Male sleepers should use the ‘Lower’ rating for orientation, female sleepers (or male end-users who sleep a little colder” should use the ‘Comfort’ rating as a guide. Make sure the bag you’re looking at fits you without you compressing the insulation around your knees and feet, and look at details like draft tubes and hoods – these are areas where manufacturers save money, but where warmth ‘leaks out’ of a sleeping bag. Make sure both are adequately dimensioned/adequately shaped to keep warmth in. Because the mannequin used in the EN test does not move, these deficiencies in design will not show up in the EN Rating – but they will in the real world.
Before we move on to discussing sleeping pads, it’s important to think of your sleeping bag, sleeping pad, and liner as a ‘sleep system’. We get a lot of comments via the blog where the sleeper got cold despite a supposedly warm enough sleeping bag, where it transpires that the sleeping pad did not provide adequate insulation. You can read about using liners, sleeping bags and mats to form sleep systems here.
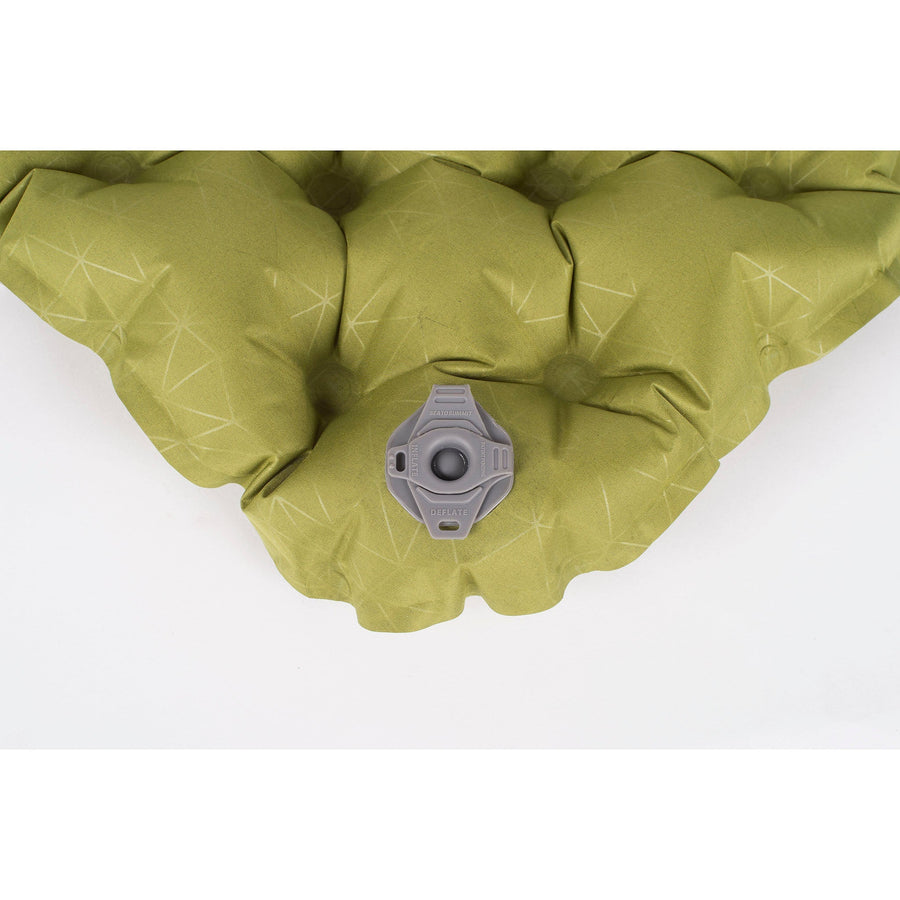
When thinking about a sleeping pad, think about comfort, weight, and insulation: the insulative ability of a pad can be expressed as an ‘R’ Value. Fortunately, as of January 2020, all sleeping pad manufacturers test for R-Value according to the ASTM Standard. However – a tested R-Value is only part of the story – you can read about the physics of insulation in sleeping pads here. Understanding what happens inside air-filled sleeping pads will help you be sure the pad you choose will be warm enough.
The final component of a sleep system is the liner, for instance, the Reactor Liner – for Summer/early Fall camping the base model Reactor should be adequate. Less than 9 ozs / 270g, the size of a large coffee mug, the Reactor will add a few degrees of warmth that the bag manufacturer may have left out.
Pack some of your clothing in a soft bag which you can stuff with clothing at night for a pillow or treat yourself to a little luxury with an Aeros Ultralight Pillow.

4. Cooking / Eating / Washing gear.
Keep it simple. If you haven’t yet learned the joys of single-pot cooking, now’s a good time. Simpler meals mean less cooking time which means less fuel (some newer stove/pot systems have more efficient burners and heat-transfer technology, but they can be expensive). I wouldn’t leave home without my X-Bowl and X-Mug – together they form a versatile cutting board / measuring / pouring / bowl / side bowl system. Since the advent of the X-Pot/Kettle, I simply collapse pot, bowl, and mug together and slide them into my first day’s Ziploc®-packed rations. When I cook, the broad-based aluminum X-Pot Kettle is far better for simmering and stirring than my old titanium solo pot. Beyond a spork and knife, I’ve never felt the need for any cutlery. The only other item in my camp kitchen is the X-Brew Coffee Dripper. It packs flat inside my X-Pot/Kettle and makes a really good cup of coffee in the morning.
For food, figure 2.2lbs / 1 kilo per person per day – get rid of excess packaging at home, stow the food in Ziploc® bags packed one day’s worth per bag. Take a look at the blog post on cooking in the backcountry – there really is more to camping than rehydrating freeze-dried food… You’ll also need a bear/critter bag to hang food in a tree at night – if you go for something really light, be cautious of snagging it on branches.
For washing dishes (and for personal hygiene), I take along a 5 liter Kitchen Sink, and a 40ml bottle of Wilderness Wash. Not only does this make washing dishes simple, but a bowl of warm water, some soap and a Pocket Towel at the end of a long hiking day (prior to changing into dry clothes for the night) can recharge your mental batteries.

5. First aid/preparedness
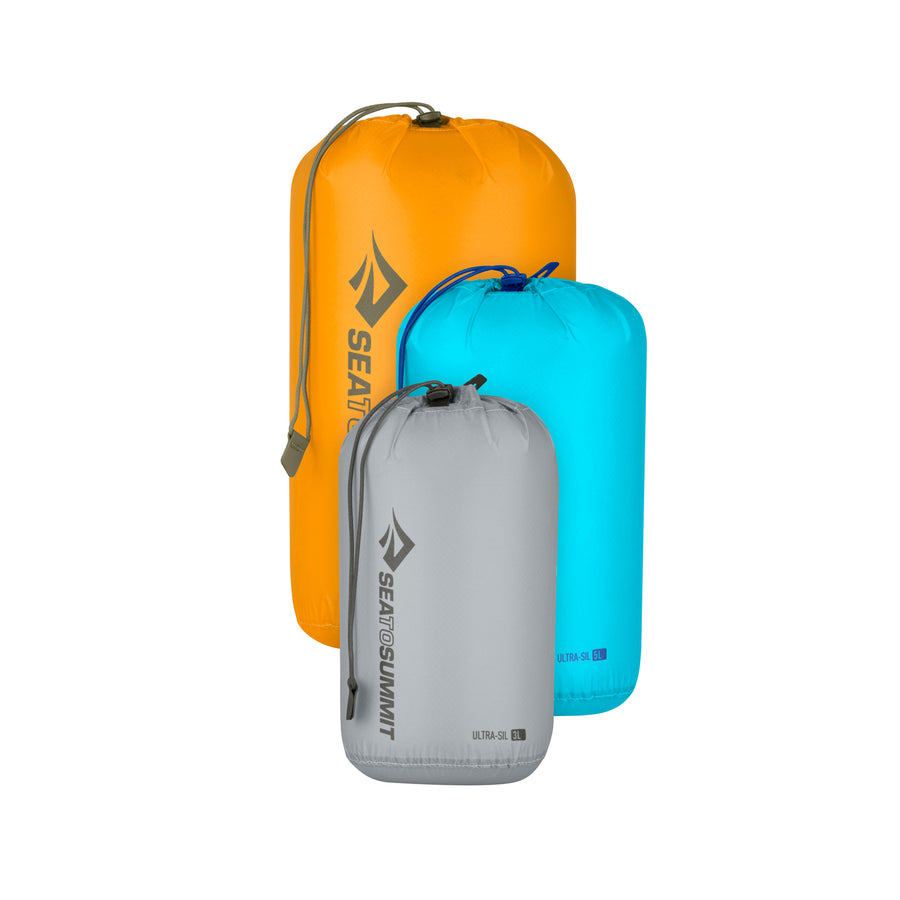
I have a ’10 essentials’ kit plus enough first aid to clean and cover most small wounds – most importantly, I have it in a 1 Liter Ultra-Sil® Dry Sack – which keeps the items dry and organized. Find out more about what to pack in our Guide to the Ultimate First Aid Kit.
6. Clothing
Everyone has their own preferences here – some common elements are layering, having one ‘dry’ set and one ‘wet’ set of clothes, and making sure that you have gloves and an insulated hat for evenings/sudden weather changes. I’ll leave the details to you. But – one thing I would suggest: pack your clothes in dry sacks. It will keep them dry (obviously), and make it simple to pack and unpack your backpack (even if it’s raining), and to keep order.
I still use UltraSil® Dry Sacks for storing clothes, although I’ve become seduced by how easy it is to slide eVac Dry Sacks into a pack – the excess air just smooshes out. Make sure your shell clothing is waterproofed before you set out – a product such as Grangers Clothing Repel is ideal for this.
7. Other gear
- An LED Headlamp (fully charged if it is rechargeable; if not, make sure you take spare batteries).
- A camera (stored in its own TPU Accessory Case). A filter water bottle (less weight than a separate water filter; I scoop water as I go and drink as I need).
- A 2 Liter Platypus per person (each of which is filled before making final camp for the night).
- Trail running shoes plus short gaiters (the light load means that I don’t feel the need for more rugged footwear; the gaiters keep stones and other debris from getting inside the shoes).
- A baseball cap (if I’m hiking in the sun, I cover the back of my head and neck with the Pocket Towel).
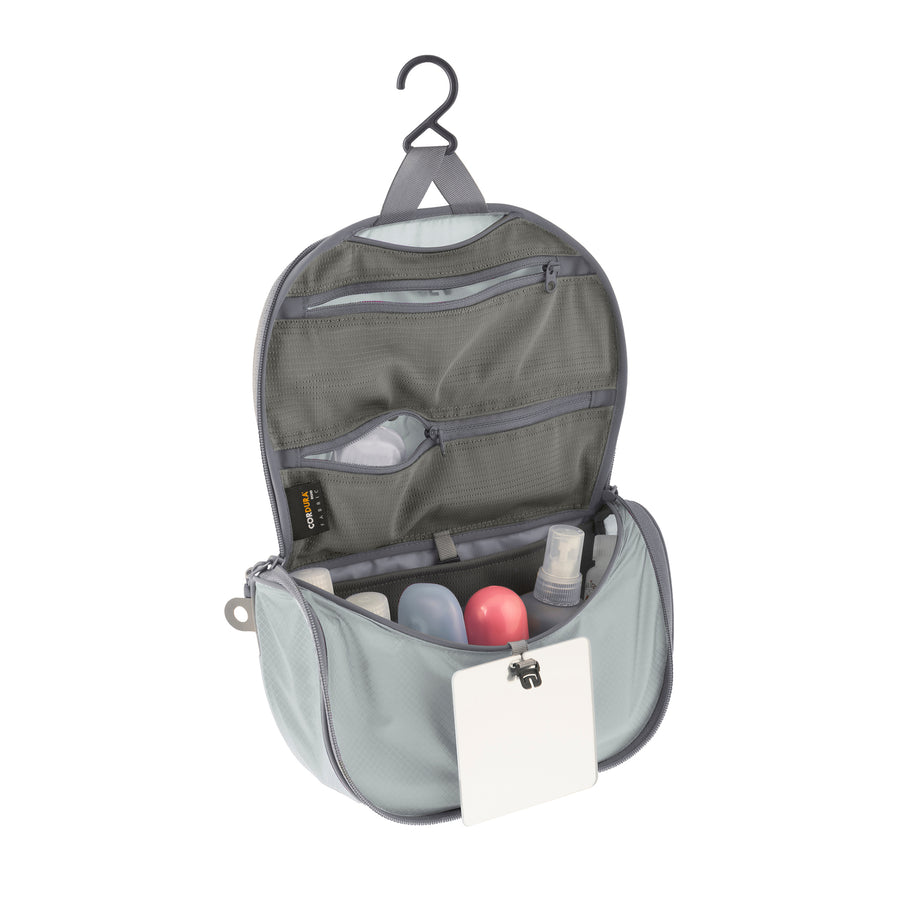
- Personal wash kit.
- A Pocket Trowel kept in a Ziploc® bag with toilet paper and a 40ml bottle containing Trek and Travel Hand Sanitizer.
- A few tea-lights (it’s nice to have candles in the evening).
And that’s about it.
Assuming the two-person / moderate terrain / one-week premise, this should fit nicely into a 60 liter / 3600 cu in pack.
If you have any questions on the above, or would simply like more details on the areas which I’ve deliberately kept general – just ask.
B

![[12 Pack] || Wilderness Wipes](http://seatosummit.eu/cdn/shop/files/AWWC_WildernessWipes-12PackWhite_PRIMARY-1200x1200-9239c17.jpg?v=1755780879&width=900)
![[8 Pack] || Wilderness Wipes](http://seatosummit.eu/cdn/shop/files/AWWXL_WildernessWipes-8PackWhite_PRIMARY-1200x1200-9239c17.jpg?v=1755780878&width=900)