Wie man bei extremer Kälte zeltet (ENG)

Note from the Sea to Summit team - Some products linked throughout this blog have been updated for 2024.
Before starting our winter adventure, we had no experience with backcountry skiing or cold-weather camping. We weren’t concerned about skiing but camping at -40°F made us shiver in our boots.
We remembered the freezing cold nights on the salt flats of Bolivia where it was ‘barely’ 14°F. How could we survive -40°F for weeks and weeks?
Months later, we’ve spent countless nights in the cold and are becoming far more comfortable with winter camping. With the right gear, it’s even a lot of fun!
From choosing a sleep system to creating the right bedtime routine, here are our best tips for winter camping.
WINTER SLEEP SYSTEM

SLEEPING BAGS
A good night’s sleep is what fuels your winter adventures. We sleep almost twelve hours a day—that’s a lot of time spent in a sleeping bag.
We used Sea to Summit Alpine sleeping bags for the cold winter nights—the warmest, most extreme bags they make. The first night in the tent, the temperature dropped to -20°F and we were very happy cocooned in our bags. They kept us warm through the night.
ISO Ratings
Remember, a sleeping bag always has a comfort, lower limit, and extreme temperature rating:
- Comfort - the temperature at which a cold sleeper sleeps comfortably. This temperature usually apples to women.
- Lower limit - the temperature at which a warm sleeper sleeps comfortably. This temperature usually apples to men.
- Extreme - the temperature at which you can survive for six hours in the sleeping bag without risk of death from hypothermia. We do not recommend you rely on this rating for normal use.
Note from the Sea to Summit team - We have stopped publishing the Extreme rating, because we felt it was leading to confusion.
The Alpine has a comfort temperature of -20°F, and a lower limit temperature of -40°F. In the evening, we put our ski clothing in the sleeping bags to keep them warm. This also provides extra insulation and dries our clothes of any light sweat. We crawl into our sleeping bag liners, which we’ve found to be an essential part of sleeping comfortably.
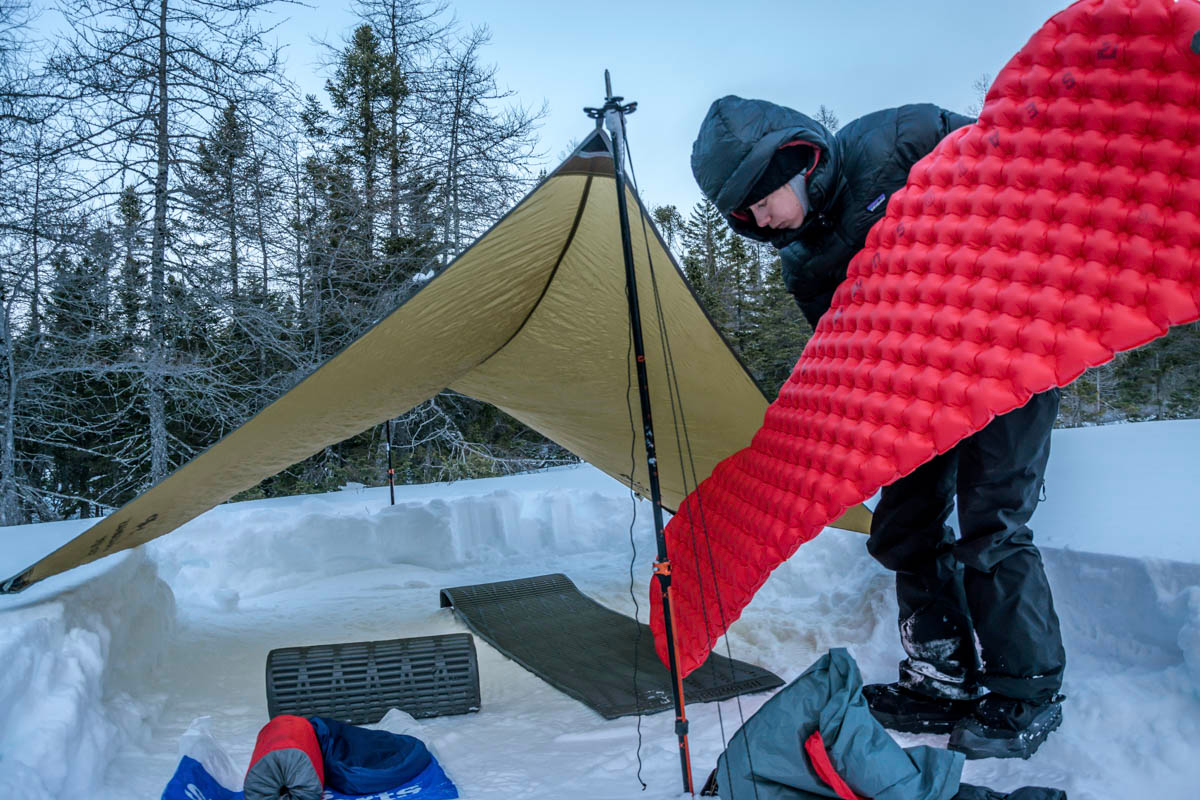
WINTER SLEEPING MATS
You need more than a good winter sleeping bag for winter camping. A well-insulated sleeping bag will protect you against air temperatures, but because the weight of the body presses the sleeping bag flat, there is little insulation under the body. When we sleep on the snow or on ice, a lot of cold comes up from the ground, which can be very dangerous.
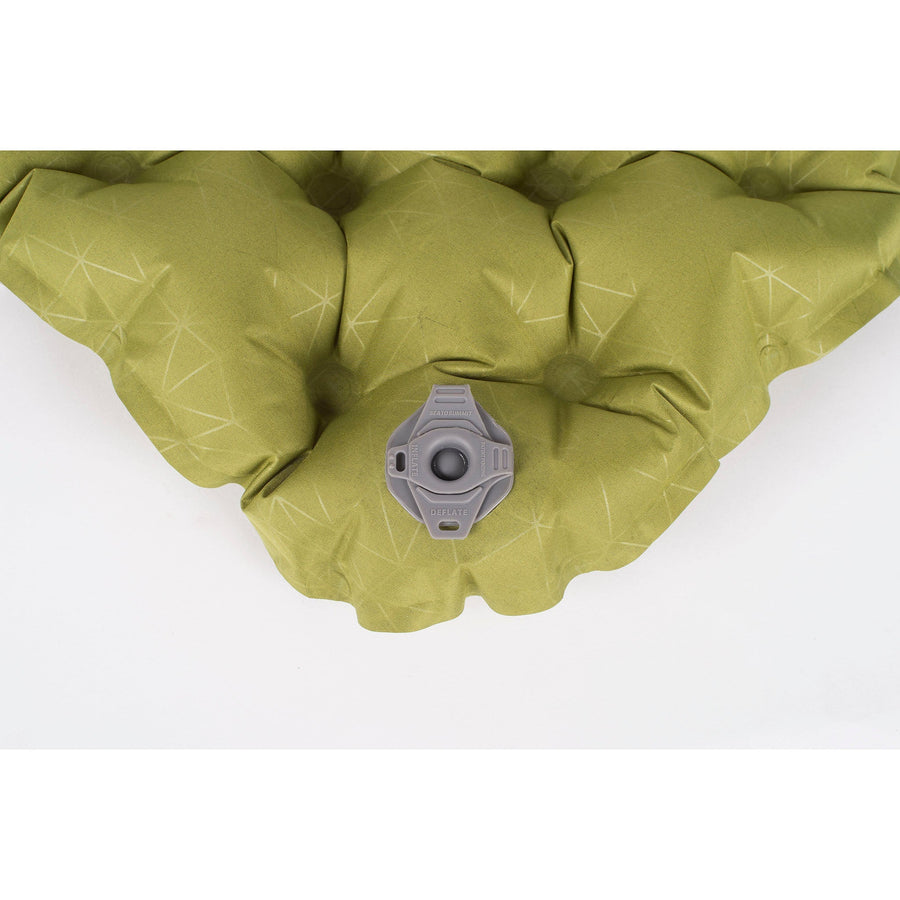
A good sleeping bag needs a good sleeping mat. For winter camping, we use two sleeping mats; one solely for insulation, the other for comfort and additional insulation. The first is simply a foam insulation mat that’s around 1cm thick. Sometimes these come with reflective sides that reduces heat loss. On top of this, we use Sea to Summit’s Comfort Plus Insulated Sleeping Pad, which is perfect for winter camping.
The foam pad has an R-Value of 2.8, while the air mattress has an R-Value of 4—giving us a value of 6.8 in total. For extreme weather use, particularly with frozen ground, a rating about 4.5 is recommended.
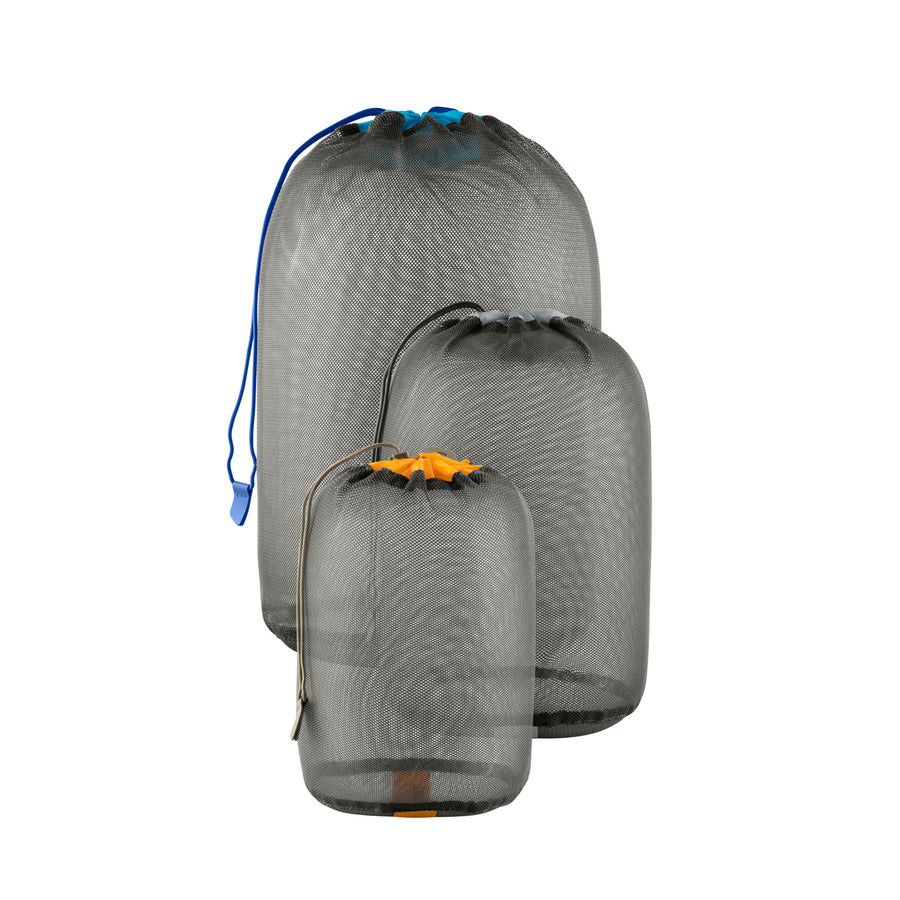
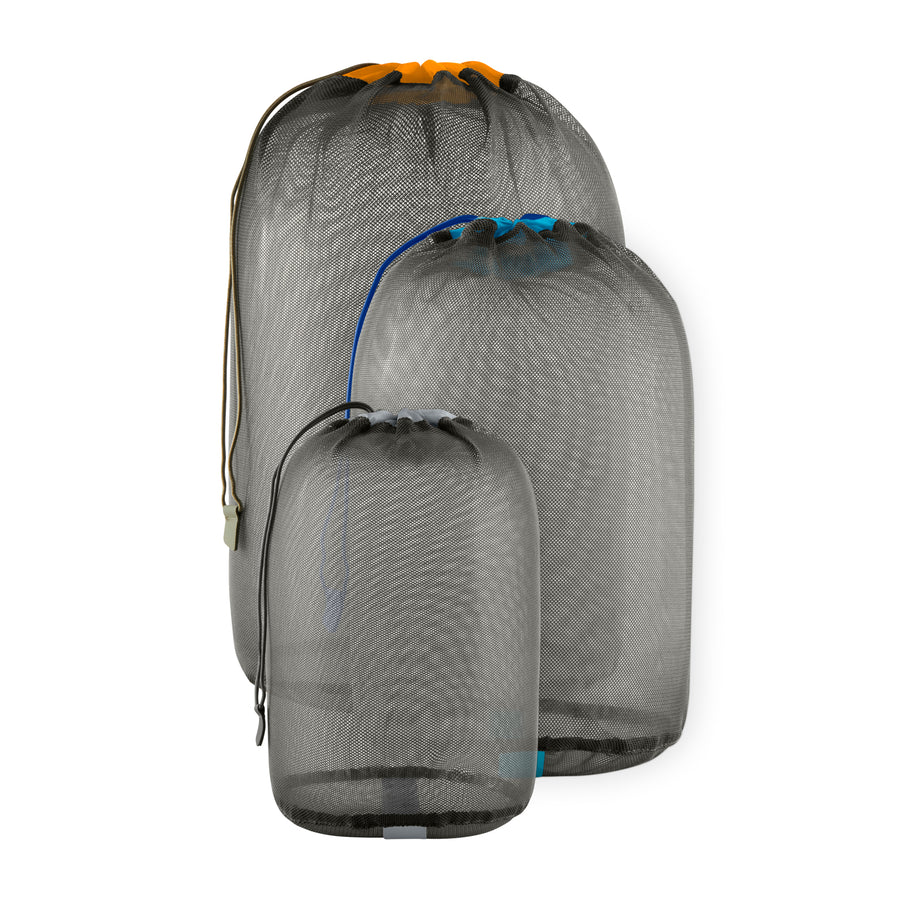
Our Comfort Plus Insulated pads contain hundreds of Air Sprung Cells, making them really quick and easy to inflate with the airstream pumpsack that is integrated into the stuff sack. Not only is this really useful after a long day, but it also helps keep moisture out of the pad that could otherwise freeze overnight.

SLEEPING LINERS
In winter, we use the Sea to Summit Reactor Sleeping Bag Liner. Sleeping bag liners can be used for:
Temperature
A liner can increase your sleeping temperature by a few degrees, depending on the type of liner.
Comfort
The liner is more comfortable to sleep in than the lightweight material of a sleeping bag, which can sometimes feel sticky against your skin.
Hygiene
The liner catches sweat and grime so that it does not get into the insulation of our sleeping bags. This keeps the sleeping bag cleaner, more thermally efficient and helps prevent the outside from freezing. The liner is also much easier to wash out than a sleeping bag.
Warmer environments
If we sleep in a heated environment, such as in people’s homes, we’re often warm enough with just the liner.

CHOOSING A TENT FOR WINTER CAMPING
For winter camping, we use a well-insulated, all-season tent designed to withstand strong winds and the weight of snow, as well as a full nylon inner to prevent as much heat loss as possible.
There are a couple of features found on some alpine tents that we decided we wanted, for example where points of the fly are extended at the base so that cold air can’t blow through. In summer, tents like this can end up feeling like a sauna due to being less ventilated.
We chose a three-person tent so that we have more space inside and don’t compress the inner against the fly when we sleep. This prevents condensation transferring in and stops our sleeping bags from getting wet. We also like having a larger vestibule to store all our bags, be sheltered from the wind or rain and possibly cook if it is too cold or too windy outside the tent.
PREPARING THE CAMPSITE
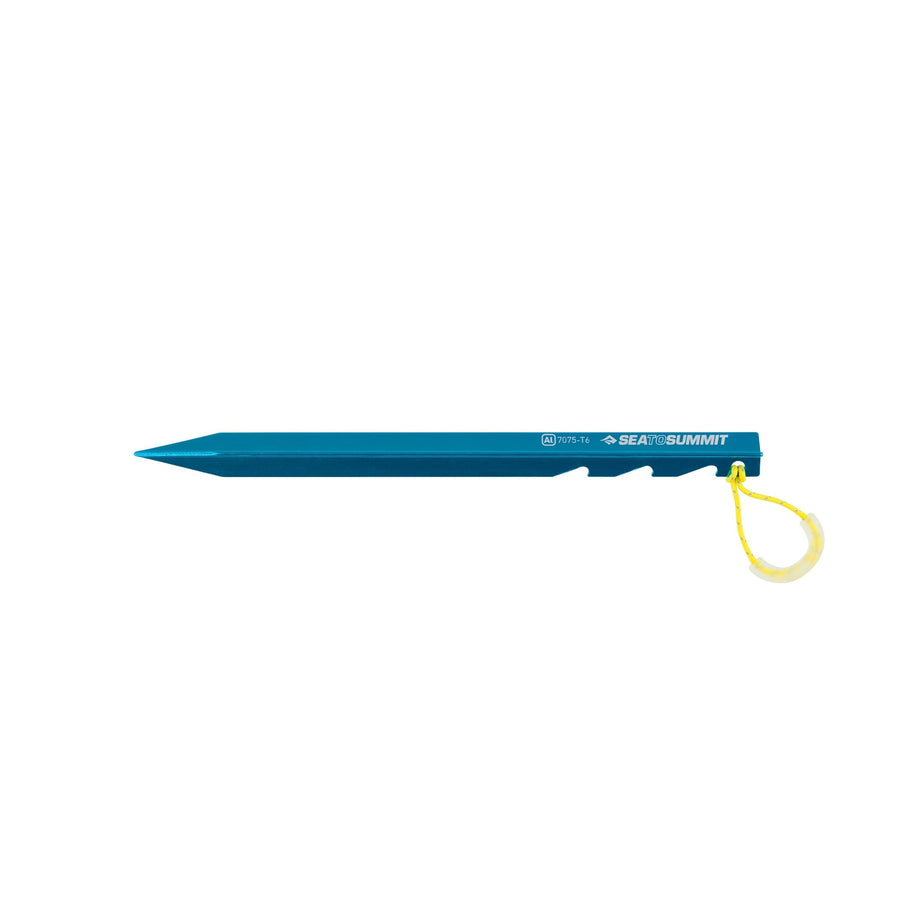
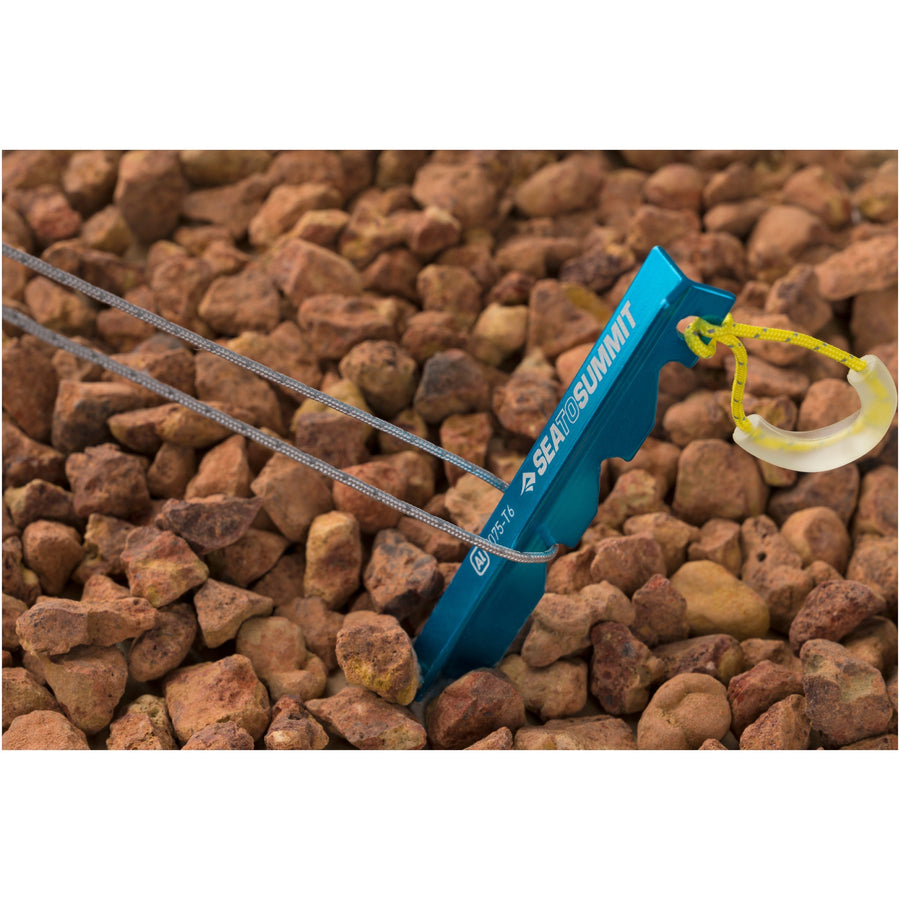
Before we pitch our tent in the snow, we walk across an area the size of its footprint to mark out the space with our camp shoes (down booties with an overshoe). Then, we flatten the surface with our snowshoes, but this can be done with skis or a shovel as well. We wait fifteen minutes for the snow to pack and firm up before we pitch the tent. If there is no shelter from the wind, it’s useful to build a wall of snow to shield your tent—or dig the campsite deeper into the snow so that the wind blows over the hole.

TARP
If the weather permits, we sleep under a tarp and not in the tent—the tarp is much easier to set up and pack down in the morning. Moreover, sleeping under a tarp really gives us the feeling that we’re sleeping outside. The main consideration for camping under the tarp is not the temperature, rather the wind and snow. The first night we slept under the tarp, it was only 20°F, but we felt the snow falling on our faces all night. Another night we slept under it at -13°F, and we were warm and comfortable in our bags the whole time.
WHAT WE WEAR (OR DON’T WEAR)
To be naked or not to be? There is still a lot of discussion on this topic and many think that a layer of clothing helps your body retain more heat. Our own experience is that we get warmer when we crawl into our liner and sleeping bag without clothes. The liner works similarly to how a layer of clothing would, and the down of the sleeping bag retains our body heat without us needing extra layers. It’s personal preference though, so it can be useful to try both sleeping styles out.

FIVE TIPS FOR A WARM NIGHT’S SLEEP
Once you have your camp set-up and your winter sleep system laid out, here are a few things you can do before bedtime.
1. EXERCISE BEFORE SLEEPING
The warmer you are when you crawl into your sleeping bag, the better you’ll sleep. Sounds pretty obvious, right? It’s important to remember that a sleeping bag doesn’t warm up your body—it retains your body heat. Before bedtime, we do a few exercises—like squats, jumping jacks or boxing. The trick is to do enough exercise to get warm, but not so much that you begin to sweat—because moisture freezes and this will make you cold very quickly. It’s all about achieving the right level of body heat.
2. GRAB YOUR TRUSTY HOT WATER BOTTLE
After dinner, we melt snow until it boils. Then we pour the boiling hot water into heat-resistant bottles and put them inside the liners in our bags. The bottles gives off a tremendous amount of heat and will heat the sleeping bag from around 6pm to 4am. We also stuff damp clothing, such as socks or a shirt, into the bottom of the sleeping bag so that they can dry on the hot water bottle. Overnight, the water doesn’t get cooler than body-temperature, so we also have something that’s not frozen to drink when we wake up.
3. PROTECT YOUR HEAD
We lose most of our heat through our head—so we always sleep with a warm hat and tighten the sleeping bag hood so that as little head surface as possible is exposed. Make sure the hat is not too tight to avoid a headache. In the morning, the part of sleeping bag around your mouth will have an ice layer on it but you can easily knock that off before putting the sleeping bag back in the stuff sack.
4. DRY YOUR SLEEPING BAG
At night, our body produces heat and we breathe out warm air—both of which cause condensation and can affect the performance of your down sleeping bag. When winter camping, we always wake up in the morning with a layer of frost on the outer layer of the sleeping bag. Our Sea to Summit Alpine bags have a nylon shell outer layer that is highly water-repellent and helps protect the ultra-dry down, but we still dry our bags every chance we get. A sunny day or a night spent indoors are the perfect opportunity for this. Even if your sleeping bag seems dry on the outside, it’s important to give it as much of a chance as possible for it to dry thoroughly.
5. DIG A HOLE AT THE ENTRANCE OF THE TENT
Warm air rises, cold air falls. We make good use of this by digging out a hole in the snow in front of the entrance of the tent. Instead of settling around our bodies, the cold air goes down into the hole. The hole has other advantages; it will work as a bench, making it easier to get in and out of the tent and it stops snow being kicked into the tent. Of course, this isn’t an option when we sleep on a frozen lake!

When you get to the end of an epic day of adventuring in the cold, it’s important to stay moving or rug-up properly for the evening, and make sure you don’t climb into your sleeping bag cold. Cooking, and especially melting snow, is time-consuming and the body cools down quickly, so keep this in mind to give your body the best chance of staying warm through the night.
This article was originally published on We Leaf's website.

![[12 Pack] || Wilderness Wipes](http://seatosummit.eu/cdn/shop/files/AWWC_WildernessWipes-12PackWhite_PRIMARY-1200x1200-9239c17.jpg?v=1755780879&width=900)
![[8 Pack] || Wilderness Wipes](http://seatosummit.eu/cdn/shop/files/AWWXL_WildernessWipes-8PackWhite_PRIMARY-1200x1200-9239c17.jpg?v=1755780878&width=900)