Vorbereitung auf den Te Araroa Trail (ENG)

I’ve hiked to Everest Base Camp, survived the world’s most dangerous hike in Mount Huashan and ridden horses through Mongolia and yet I still feel the pangs of fear before a new adventure.
Right now, a few days before I leave to hike the Te Araroa (TA) trek—a casual 3000km from the top to the bottom of New Zealand—I honestly can’t tell you why I’m doing it.
It’s hard not to think about how sore my calves will be after walking four days on Ninety Mile Beach and how surely I’m going to cry when I have to set up my tent in the rain. I haven’t yet started daydreaming about beautiful sunrises from mountain tops—and how meals taste a million times better after a 30km day. Or even that indescribable elation that comes from finishing a long and arduous trek. But I know those moments are around the corner.
‘Ultralight junkies will scoff when I admit my base weight is 12kg—but this is the burden a photographer must bear. They say you carry your fears with you—my fear is that I won’t capture THE photo’
ENTERING THE WORLD OF ULTRALIGHT BACKPACKING
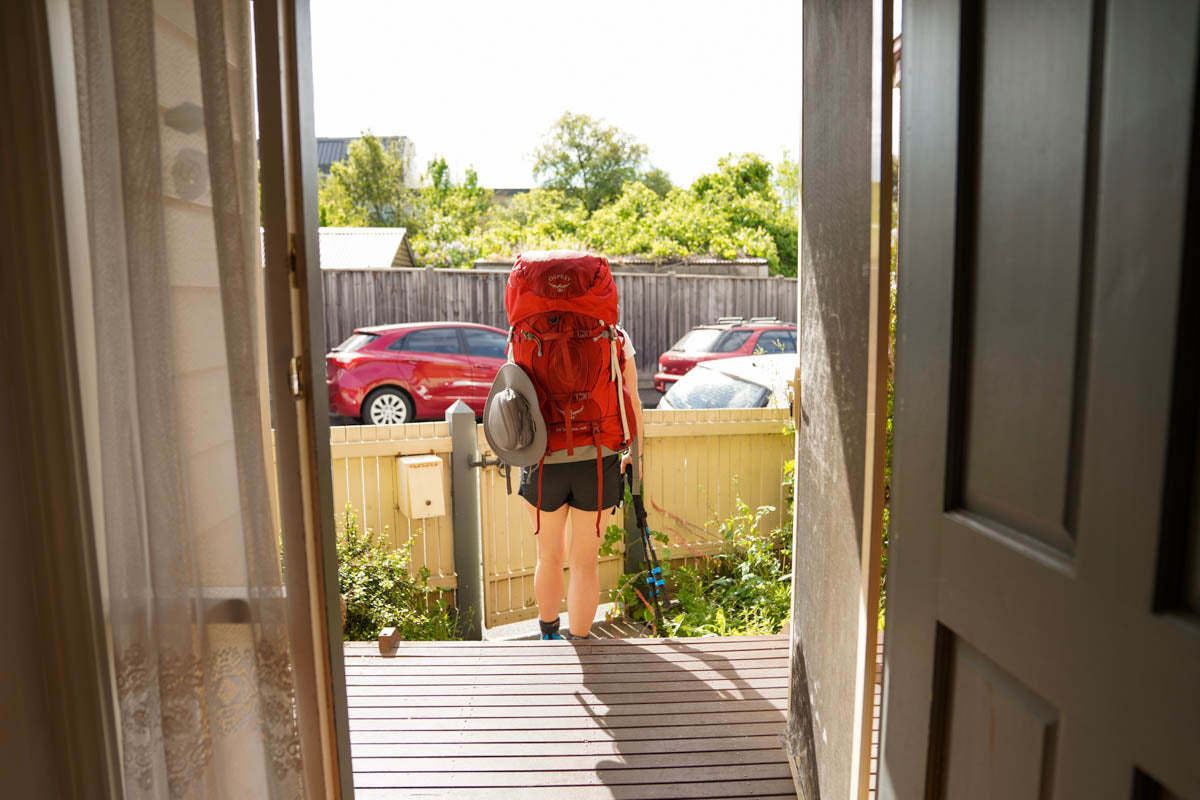
As this is my most physical and mental challenge to date, I’ve put a lot more thought into what I’ll be bringing with me. I will be carrying my home, my bathroom and my kitchen on my back for four months of tramping across beaches, through forests and over mountain ranges—so ‘ultralight’ is my mantra. Throwing in a casual ‘how much does your tent weigh, bro?’ is no longer an unusual question for me to ask people mid conversation.
BACKPACK BASE WEIGHT FOR THRU-HIKING

Most people aiming to complete a thru-hike aim for a light base weight, between six and 10kg. Finding the right balance between weight and comfort is different for everyone—but keeping it light is the overarching goal.
And I’ll have to add food and water on top of that weight. The daily food recommendation is 500-700g of calorie-dense food, which means for some of my longest sections away from civilisation, I’ll be carrying an extra four or five kilograms.
Ultralight junkies will scoff when I admit my base weight is 12kg—but this is the burden a photographer must bear. They say you carry your fears with you—my fear is that I won’t capture THE photo—hence the extra weight in the electronics department.
After months of umm-ing and aah-ing—and an overwhelming amount of research— here is the current list of what is going into my 65L backpack.

The essentials: 4.1kg
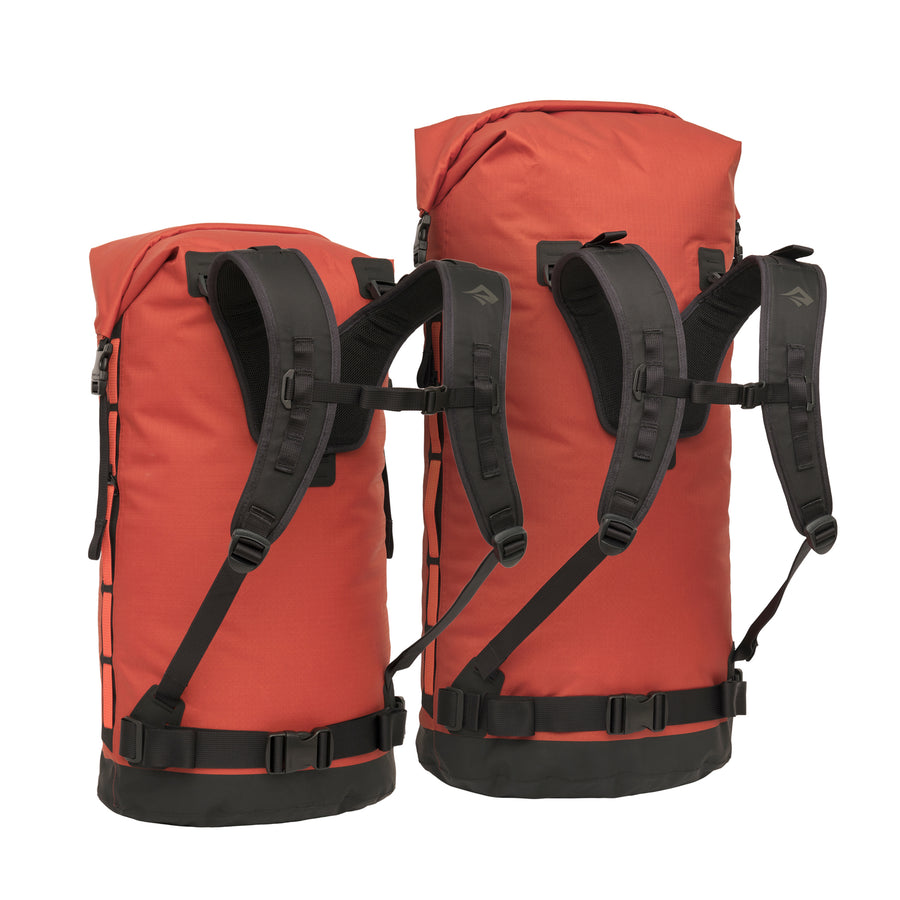
- Backpack
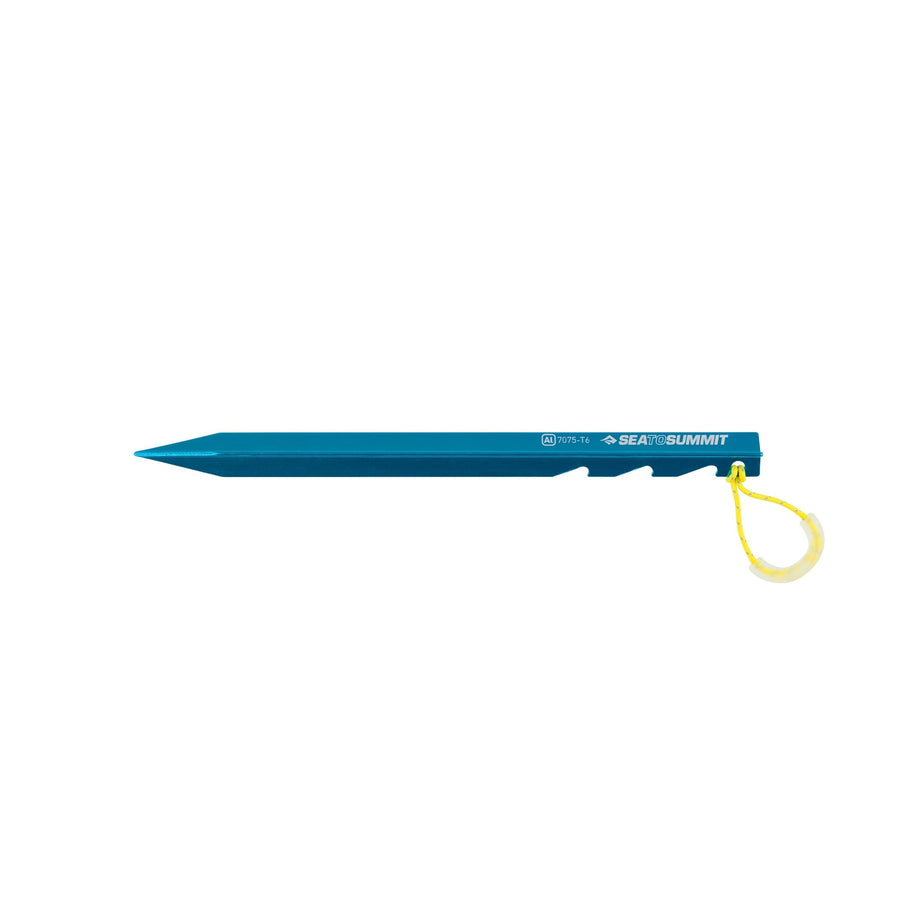
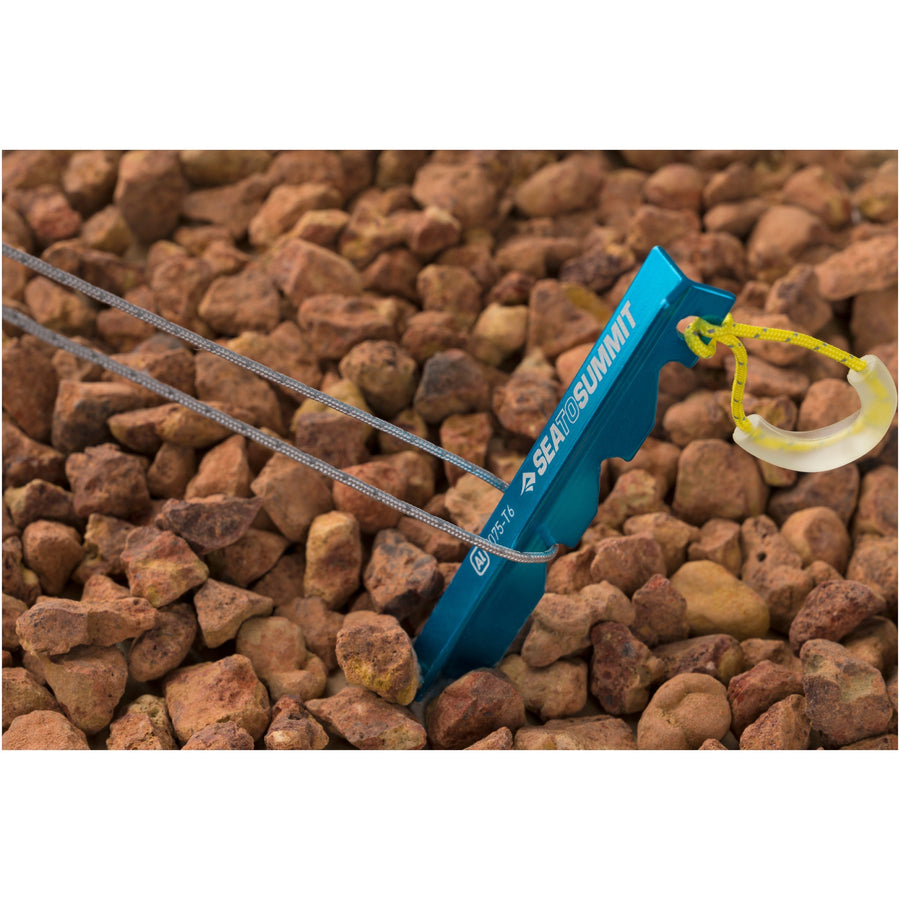
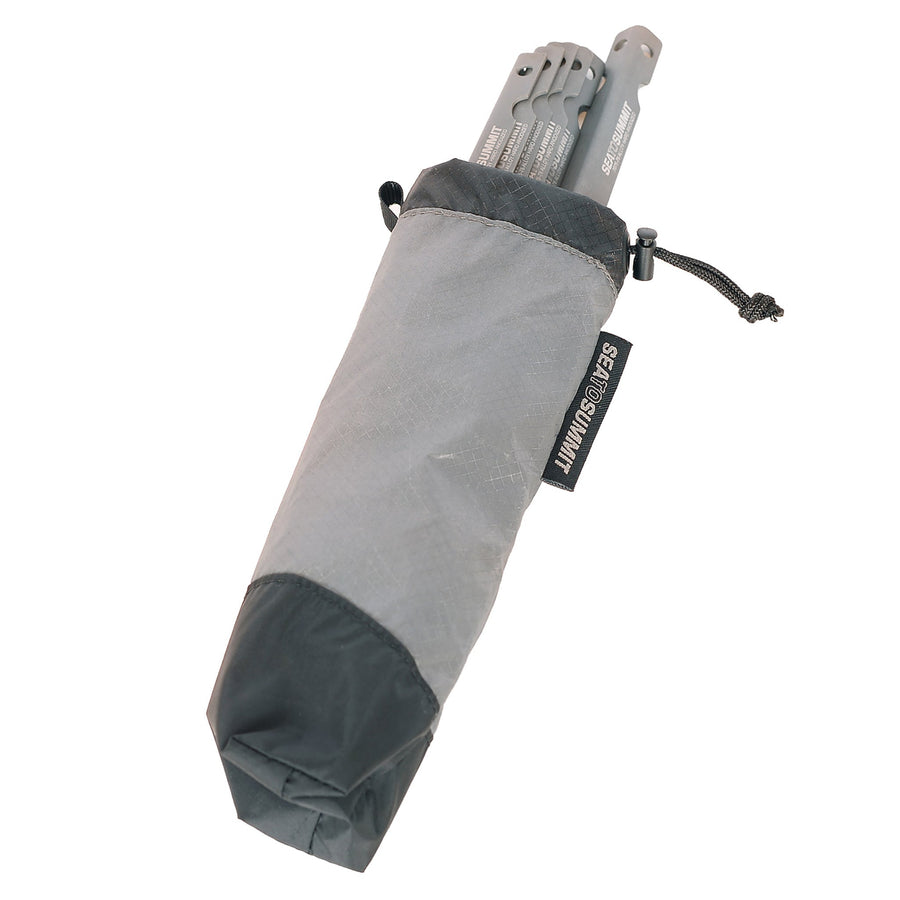
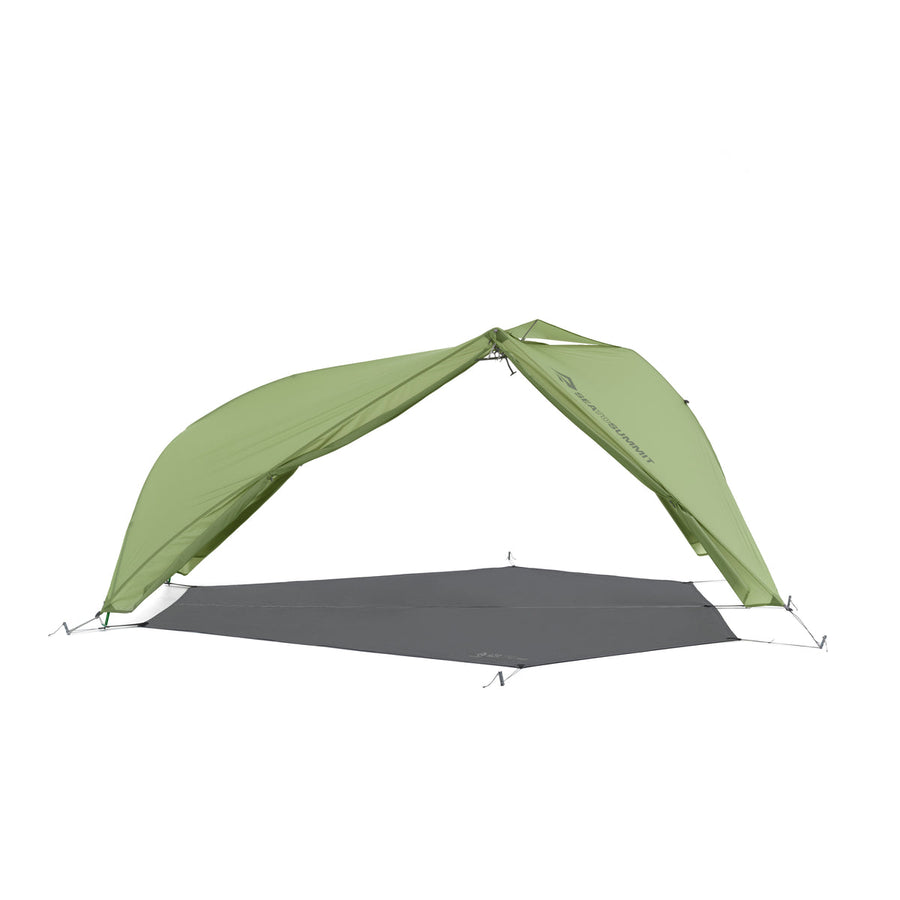
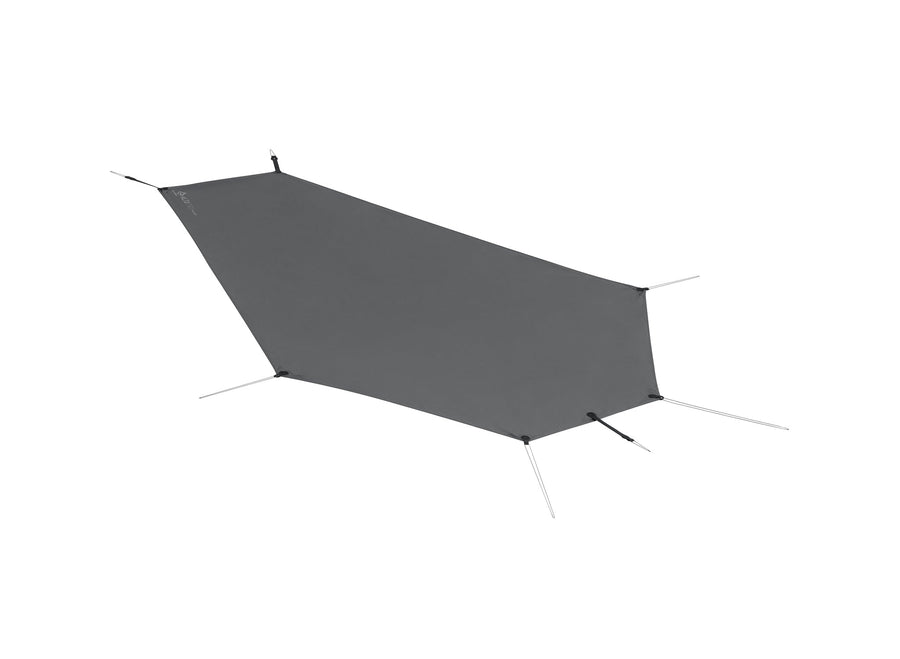
- Tent and stakes
- Sleeping Bag—Flame FMIII
- Sleeping Mat—Women’s Specific Ether light XT Insulated
- Pillow—Aeros Ultralight pillow
- Head torch
- Personal locator beacon
Camp kitchen: 0.96kg
- Cook set—AlphaSet 1.1
- Delta Cutlery Set
- Stove
- X-Brew
- Water filter
- 2L Water bladder
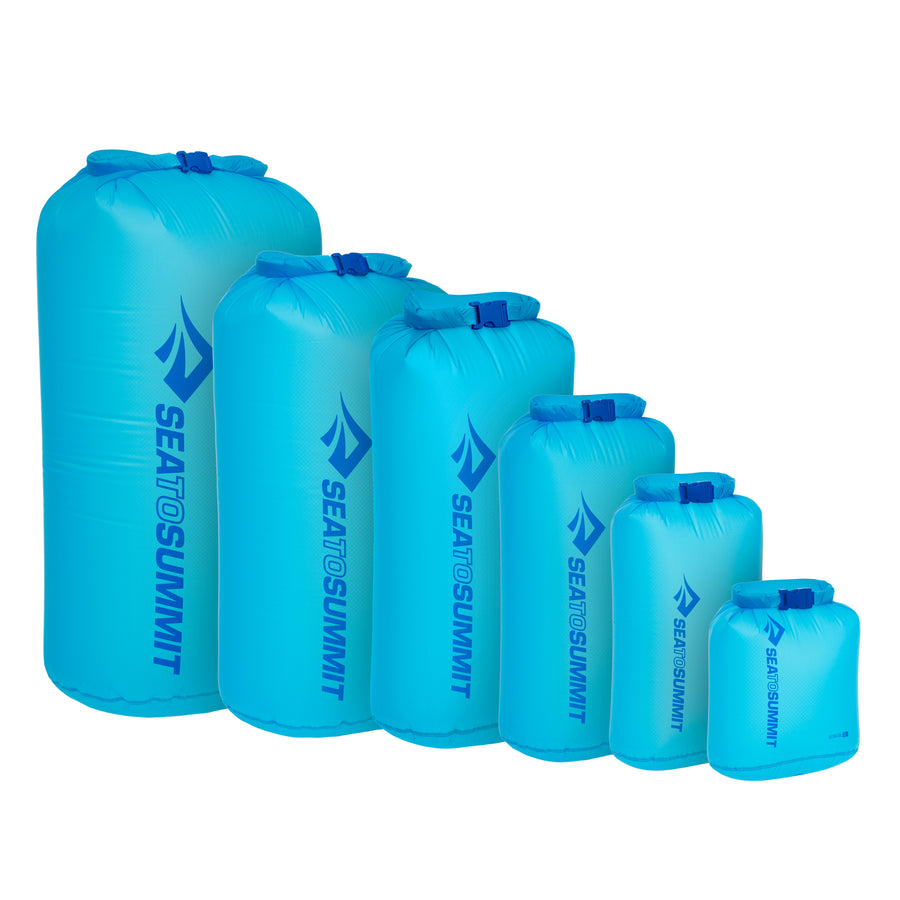
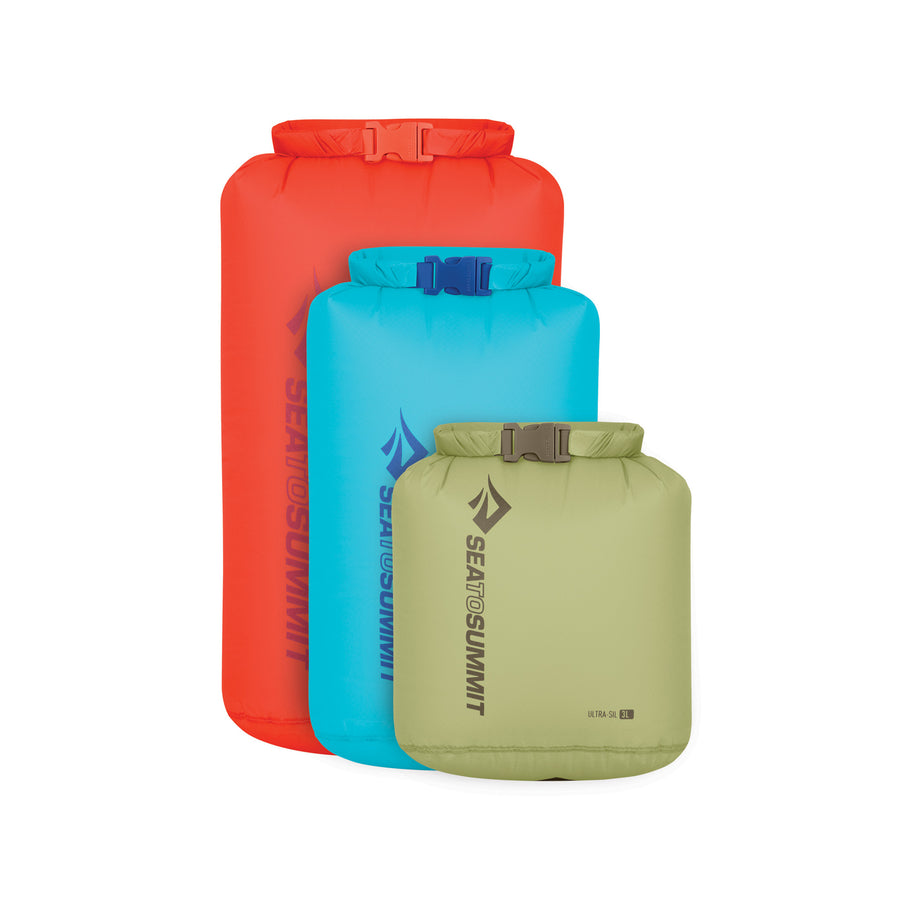
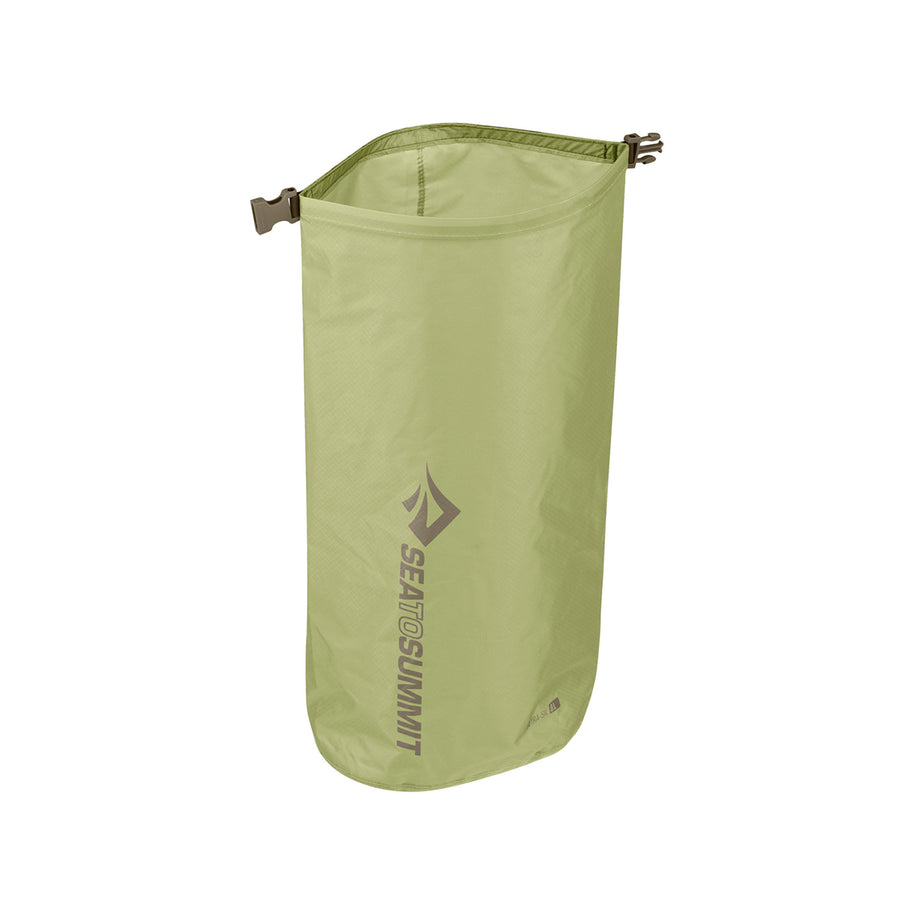
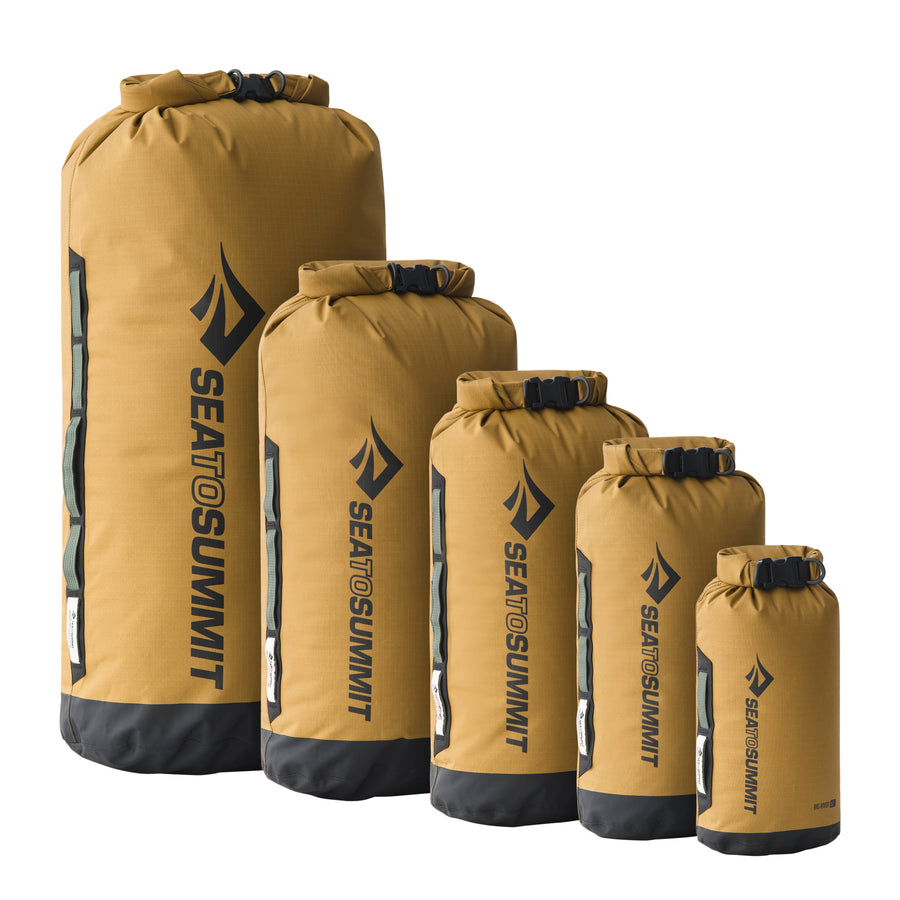
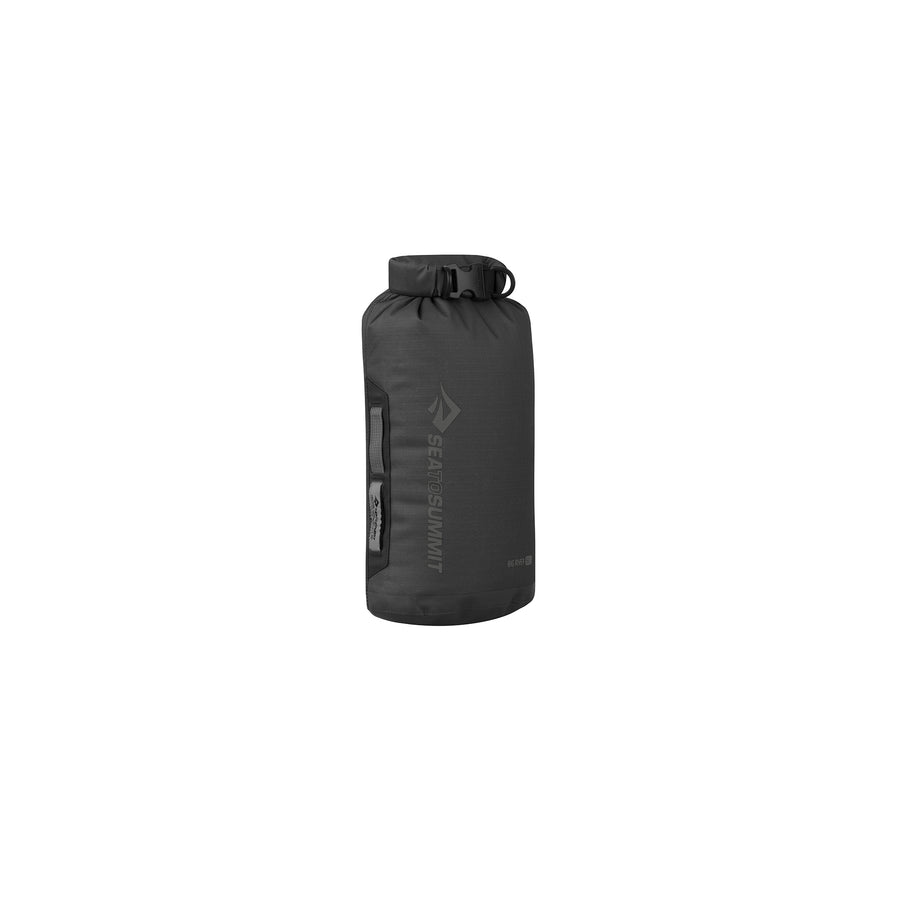
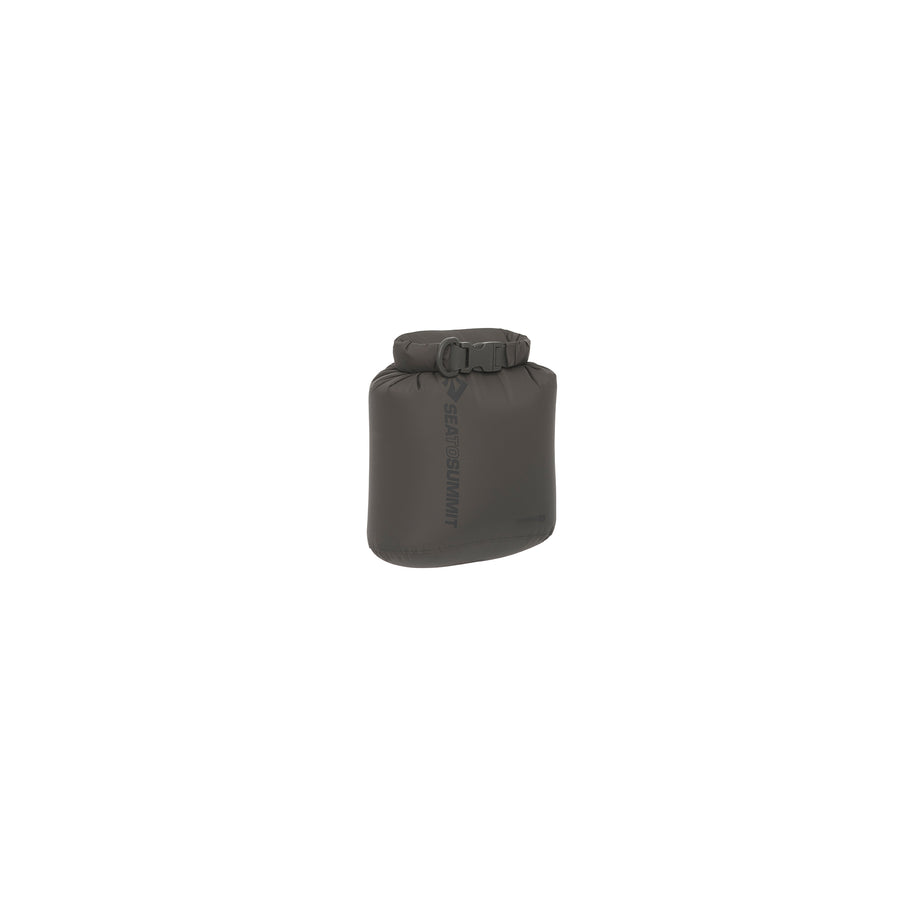
- Trash Dry Sack

Health and safety: 0.4kg
- Swiss Army knife
- First Aid Dry Sack 1L + medical supplies
- Emergency blanket
- Flint
Toiletries: 0.43kg
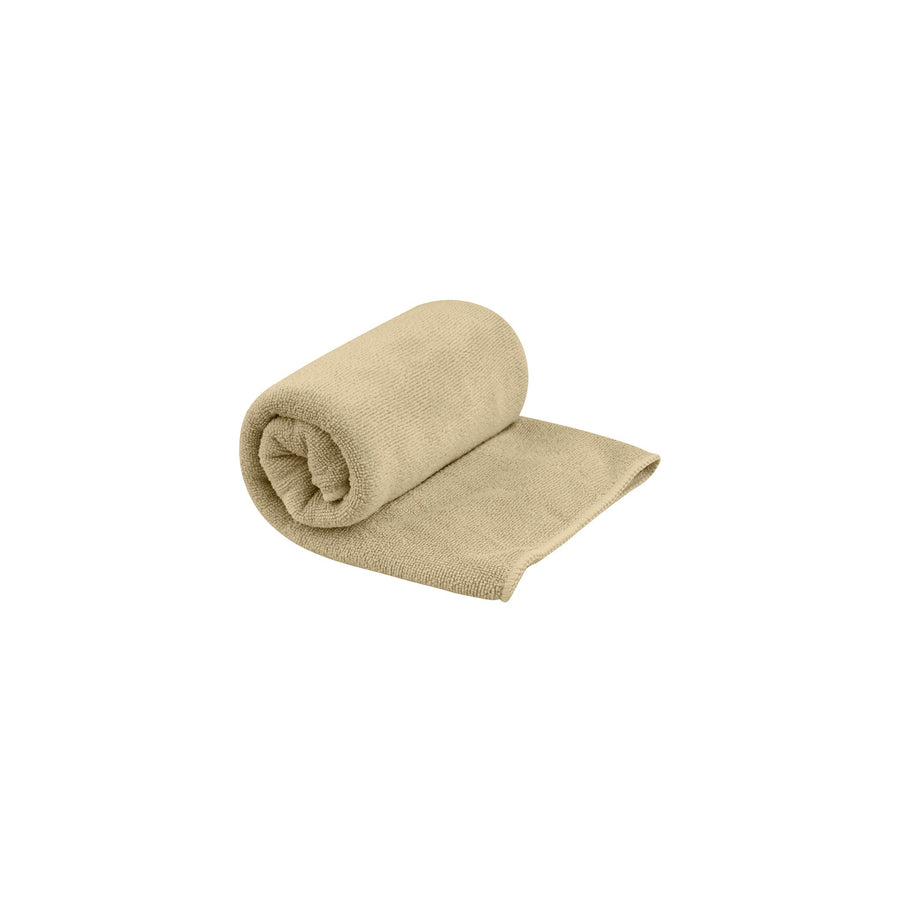
- Airlite Towel
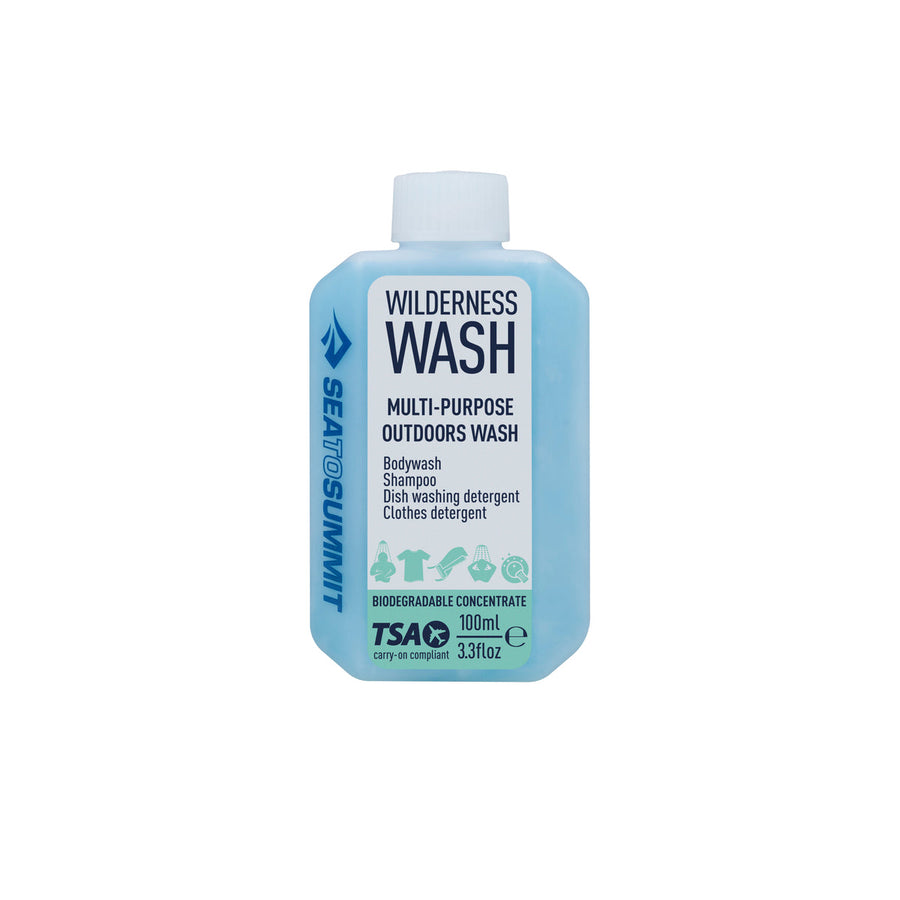
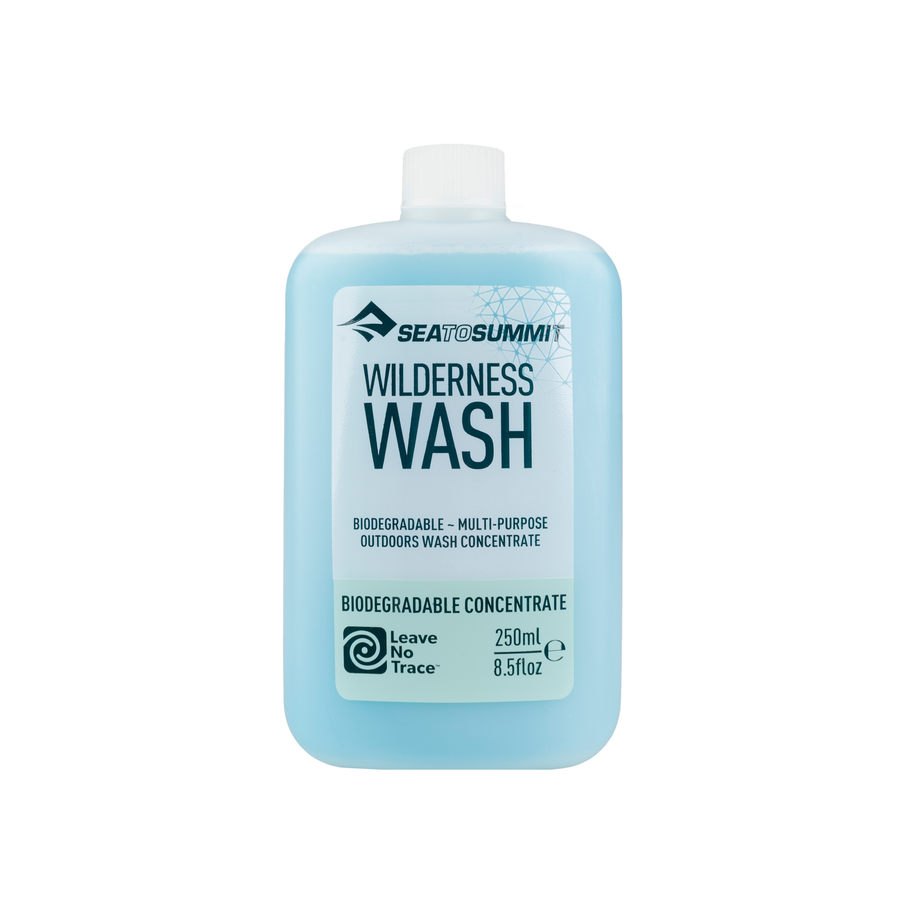
- Wilderness Wash 89ml
- Reinforced Nylon Pocket Trowel
- Ultra-Sil Outhouse
- Face cleanser
- Moisturiser
- Wilderness Wipes
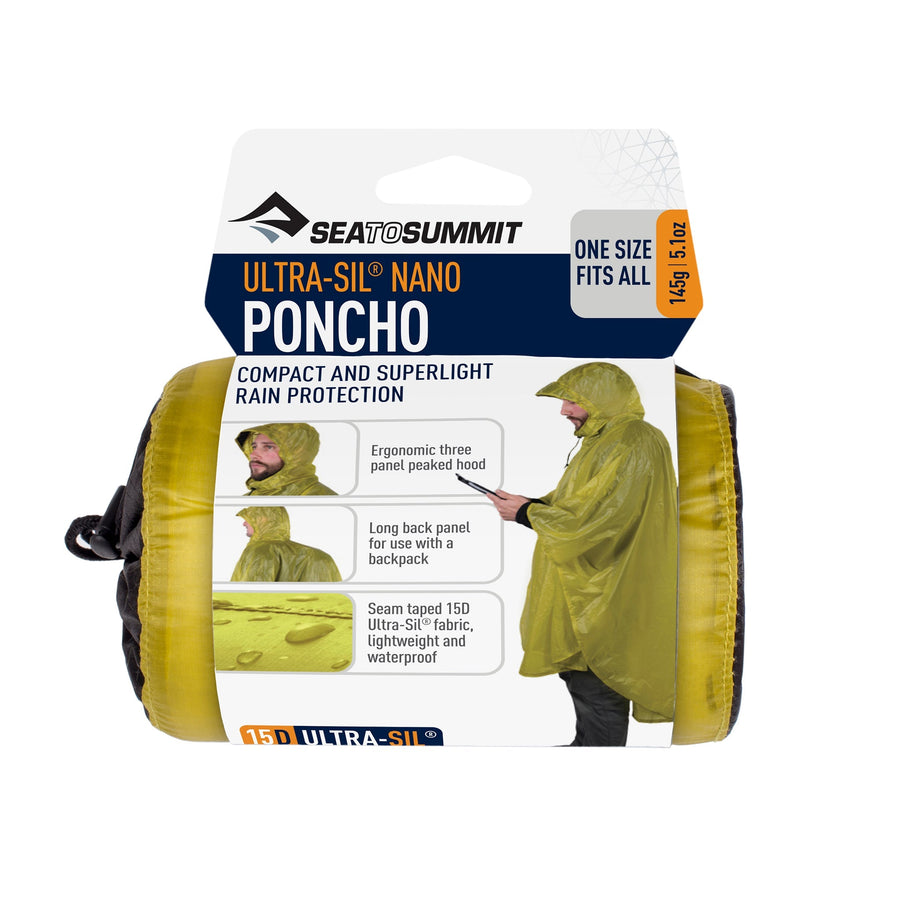
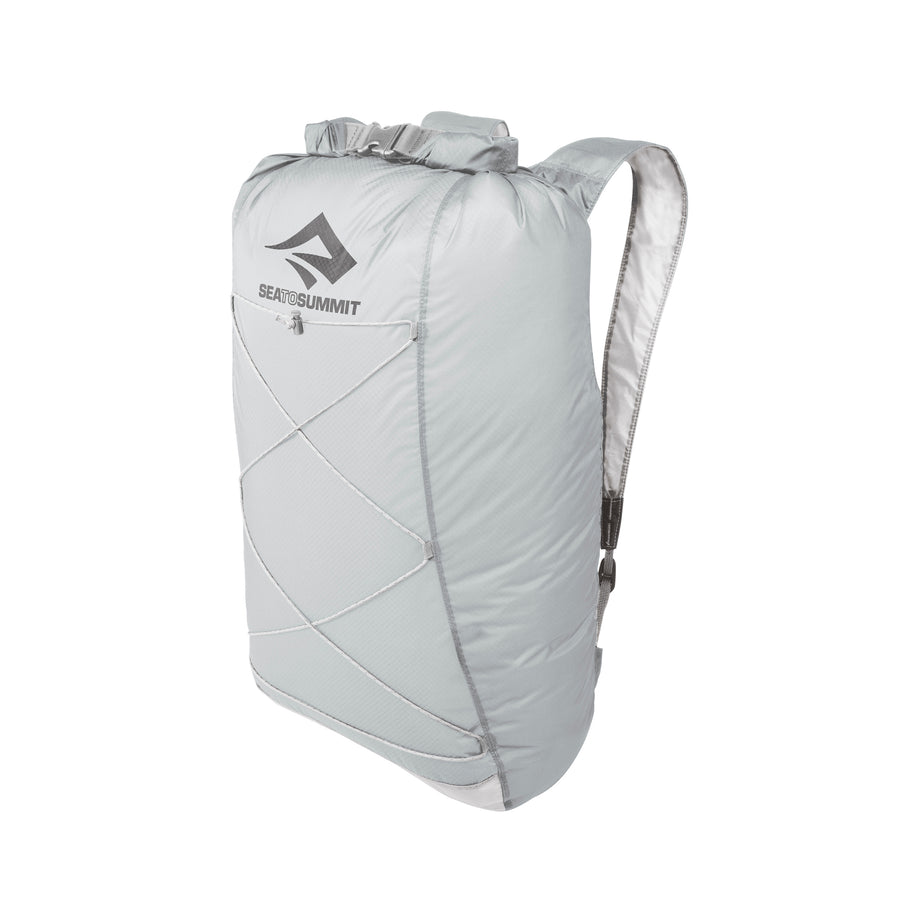
- Ultra-Sil Nano Dry Sack
Packed clothes: 1.82kg
- Fleece
- Buff
- Underwear x 2
- Rain pants
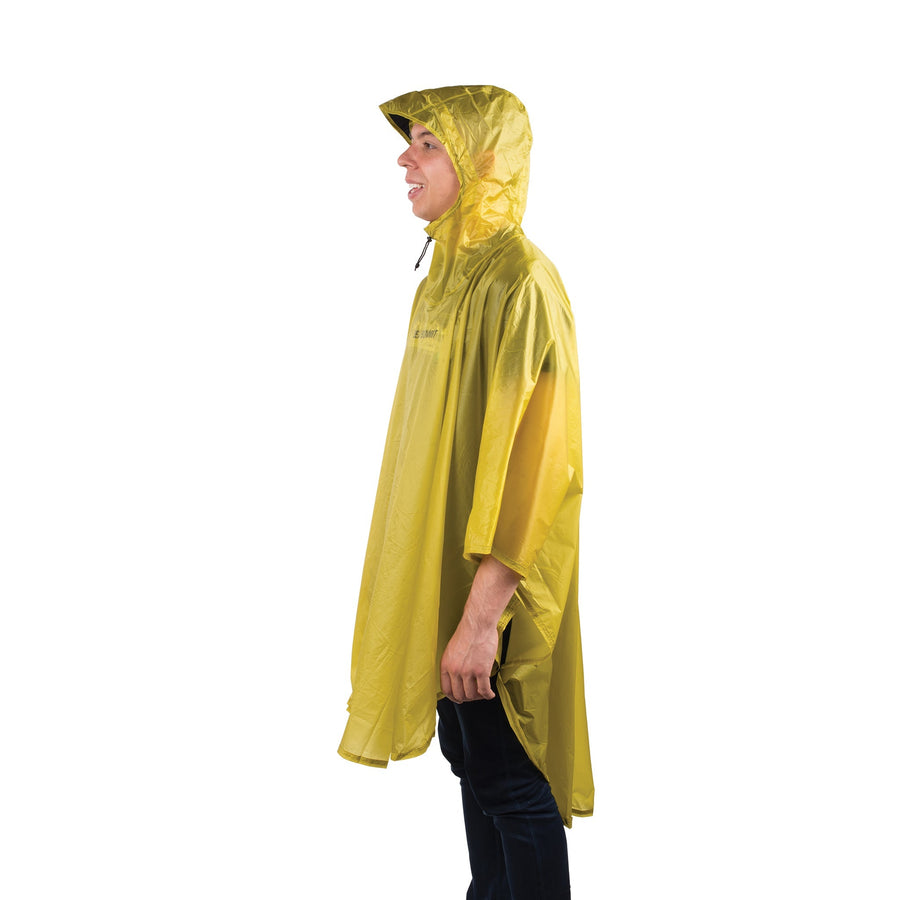
- Rain jacket
- Socks x 2
- Down jacket
- Quagmire eVent Gaiters
- Camp sandals
- Camp clothes
- Ultra-Sil Compression Sack XS
Wearing
- Shorts
- Long sleeved Shirt
- Bra
- Underwear
- Socks
- Gaiters
- Hat
- Trail runners
- Trekking poles
Electronics: 4.19kg
- Camera
- Extra Battery
- Solar charger
- Gorilla pod
- Power bank
- iPad
- Rugged hard drive
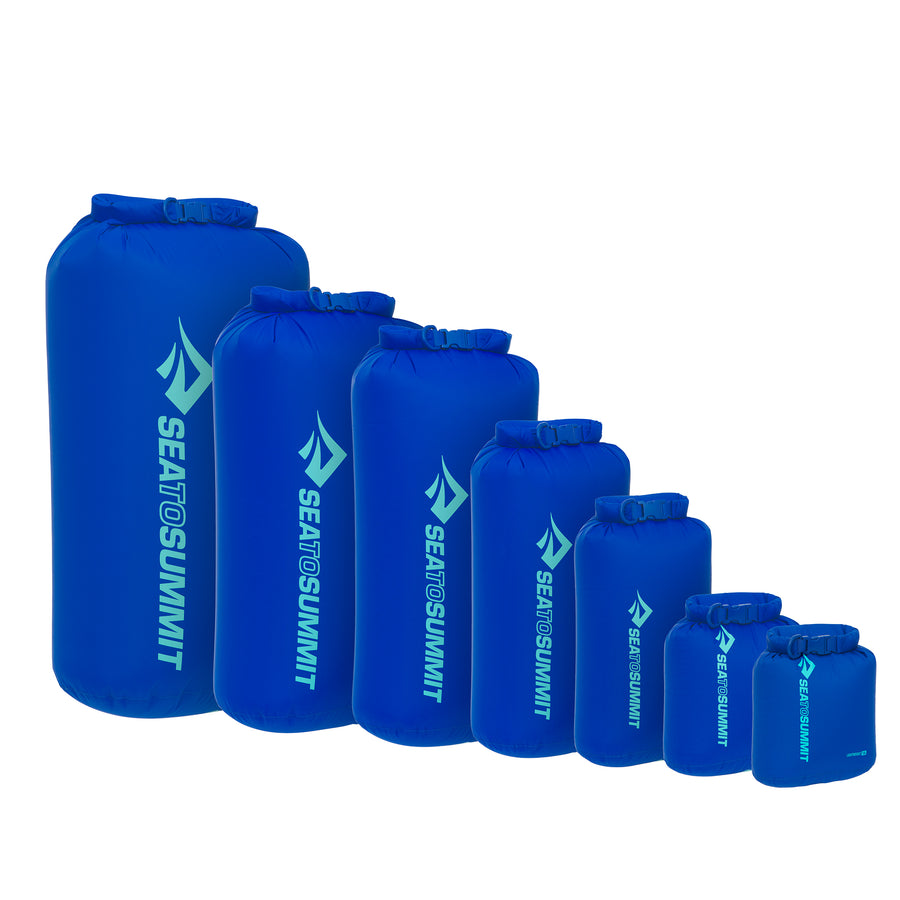
- Lightweight Dry Sack
Other: 0.24kg
- Passport and phone

WHAT GEAR TO SPLURGE ON
The most important choices I had to make where my essentials. The big-ticket items that are expensive and difficult to replace. I splurged on a lightweight tent that would utilise my trekking poles as its tent poles, saving a few hundred grams. I fought the urge to buy a lightweight backpack, instead going for something durable with good support, that could hold the extra weight of my electronics, and take a beating from the New Zealand bush I’ll be traipsing through.
‘Did you know that one pound on the feet is equivalent to five pounds on the back? I do. As did Sir Edmund Hillary, who first said this in 1953 on his successful summit of Everest.’
MY SLEEP SYSTEM
My sleep system was one of the most important decisions I had to make. Thankfully, Sea to Summit’s Sleep System Finder did all the hard work for me.
I chose a down sleeping bag over synthetic once because of the weight-to-warmth ratio and compressibility of down insulation. I’ll be hiking a few mountain ranges and wanted a sleeping bag that would cover me when I get hit by New Zealand’s notoriously bad weather—and would cover me for future cold mountain treks. My Flame III fit the bill perfectly.
The silk liner I have is their most lightweight available, and it will keep my bag clean for longer—a necessity, as I’ll often find myself a week between showers. Having a clean bag isn’t just a luxury, it’s essential to keeping the down lofted so that it remains insulative enough.
Comfort, warmth and weight were equally important to me when it came to my choice of sleeping mat. Rest and recovery are crucial on trips like this. Luckily, the women’s Ether light XT Insulated meant I didn’t have to choose between a thick, comfortable sleeping mat and a light pack. Happy days.
Unbelievably, I won’t have to sleep on a balled-up down jacket in my quest for a lightweight pack. My Aeros Ultralight Pillow weighs under 60g—and it locks onto my mat thanks to a handy Pillow Lock System. No stray gusts of wind will be claiming my pillow on this trip!

HAPPY HIKING FEET
My shoes took the longest time to buy. Where is my hiking-shoe-finder?! My previous boots literally fell apart as I hiked the Annapurna circuit because I had taken second-hand shoes so old the glue had stopped working. I vowed then never to make that mistake again.
‘I have gone into previous trips with an exceptionally blasé attitude about health and safety… until I had my first near-death experience hiking to Everest Base Camp.’
Wide toe box, zero drop, quick-dry mesh, Gore-Tex—I’m a walking, talking shoe encyclopaedia now. One with great shoes. Did you know that one pound on the feet is equivalent to five pounds on the back? I do. As did Sir Edmund Hillary, who first said this in 1953 on his successful summit of Everest. This is why trail runners are growing in popularity. I opted for some light, quick-drying ones.
EXPEDITION FIRST AID KIT
I have gone into previous trips with an exceptionally blasé attitude about health and safety. After all—everything always seems to work out for the best, and if things go wrong, you just deal.
That was until I had my first near-death experience hiking to Everest Base Camp. I had developed a chest infection that eventually stopped me breathing. I would have evacuated by helicopter but I was stuck in a pine forest with no way to call for help. I hired the only horse in a small village I was passing through to get me up the impossible hills and to the hospital in the next town for a strong course of antibiotics and a few days of sleep.
It was the first time anything had gone so wrong that I actually worried for my life. It scared me straight—I’m not indestructible after all. And I’ve since taken the well-known platitude ‘hope for the best, but prepare for the worst’ to heart.
This attitude went into preparing my first aid kit. I added an emergency blanket to the packing list, bought a Personal Locator Beacon and enrolled in an outdoor survival course with Bob Cooper. I brushed up on navigation, learnt about lighting fires a variety of ways (good for when your handy lighter breaks), and collected a few important lessons on the mindset of survival.
HIKING-APPROPRIATE PHOTOGRAPHY GEAR
When it comes to the technology side of my pack, I’m sure I’m going to regret the extra weight countless times on my journey. I’ve not only got my camera and tripod, but an iPad and hard drive so I can import and store the many thousands of photos I’ll take, and edit on my zero-days. I’ve even got a solar panel and power bank because I don’t want to have to stop for an entire day in town just to charge my camera batteries up.
It was a tough decision to leave behind my 70 to 200mm camera lens, which weighs 1.4kg. It came with me to Nepal and Mongolia and helped me take career-changing photographs. With 4kg of photography gear already packed, I just couldn’t bear it. And lack of options will force creativity, which is an important mindset to pick up in the wild anyway.
‘As I start hiking, I’ll discover what I need and don’t need. I can post things home and take more rest days if needed.’
THINK BEFORE YOU HIT THE TRAIL
- There are so many little things I did to prepare for this journey:
- Downloading the Trail App, which has comprehensive notes about each section of the trek.
- Registering for the Trail and setting aside the money I’ll be donating to the trust to help look after and improve the trail.
- Researching food plans and choosing which freeze-dried meals I’ll put in my pack, and how much is too much peanut butter to eat over four months.
- Downloading podcasts and books.
- Contacting other hikers to ask how they went, what they ate and where they resupplied.
I could write an entire book about the worries that kept me up at night and led to 2am Google searches. And how I’ve constantly been questioning whether I should have put more effort into training.
In the end, I have to remember the TA motto: Hike your own hike.

HIKE YOUR OWN HIKE
Everyone has different abilities and goals, some people walk the whole thing and others hitchhike sections. Some people have 6kg packs, others 16kg. Some take three months and others take six.
As I start hiking, I’ll discover what I need and don’t need. I can post things home and take more rest days if needed. I’ll be in town many times throughout this hike with access to shops and wifi to buy more gear or do more research and to update the world how I’m going.
I know it will be difficult and painful and at times, the worst thing I’ve ever done. Yet for each of those moments it will also be awe inspiring and character building, and the best thing I’ve ever done. I’m sure of it.
FOLLOW LOUISE’S JOURNEY
This is the first of a series Louise will be sharing as she walks the Te Aroroa. Keep an eye out on our social channels and blog for updates.
Read Louise’s story on the Bob Cooper Survival Course.
