16 Tips to get a good night's sleep outdoors

Big adventures don’t need to go hand in hand with sleepless nights. Here’s everything you need to know to sleep well on your next camping trip, wherever that may be.
I have many vivid memories of sleepless nights outdoors. On my first ever multi-day walk I spent my evenings sleeping on flat rocks after my cheap hammock ripped apart on the first night. All these camping misadventures make for great stories—and all terrible sleeps make for invaluable lessons learned.
Hiking was originally associated with suffering, heavy packs, sleepless nights, sore limbs and counting down the hours till first light. I know now that it doesn’t have to be this way.
Sleeping well outside can be, and should be, just as comfortable as your bed at home (if not more). Your escape to the great outdoors should leave you feeling restored! And, for me, a comfortable tent is always preferable to a stinking, snoring dormitory of ten others.
Sleeping gear has also come a long way in recent years, with designers finding innovative ways to prioritise comfort and warmth in a completely packable and lightweight package.
Here’s everything I wish I knew a few years ago about how to have a string of perfect sleeps on grand- or micro-adventures, in varied climates, using one sleep system. By keeping these tricks up your sleeve, you too can create comfort wherever you are—even on the coldest nights.


1. Find the right sleep system
When it comes to putting together the right sleep system, I highly recommend Sea to Summit’s Sleep System Finder. In my experience, it’s incredibly accurate—a very valuable tool to help you buy the perfect gear once, to serve you for a very long time.
For those who like to DIY their sleep system, read on!
2. Choose an R-value for the 90%
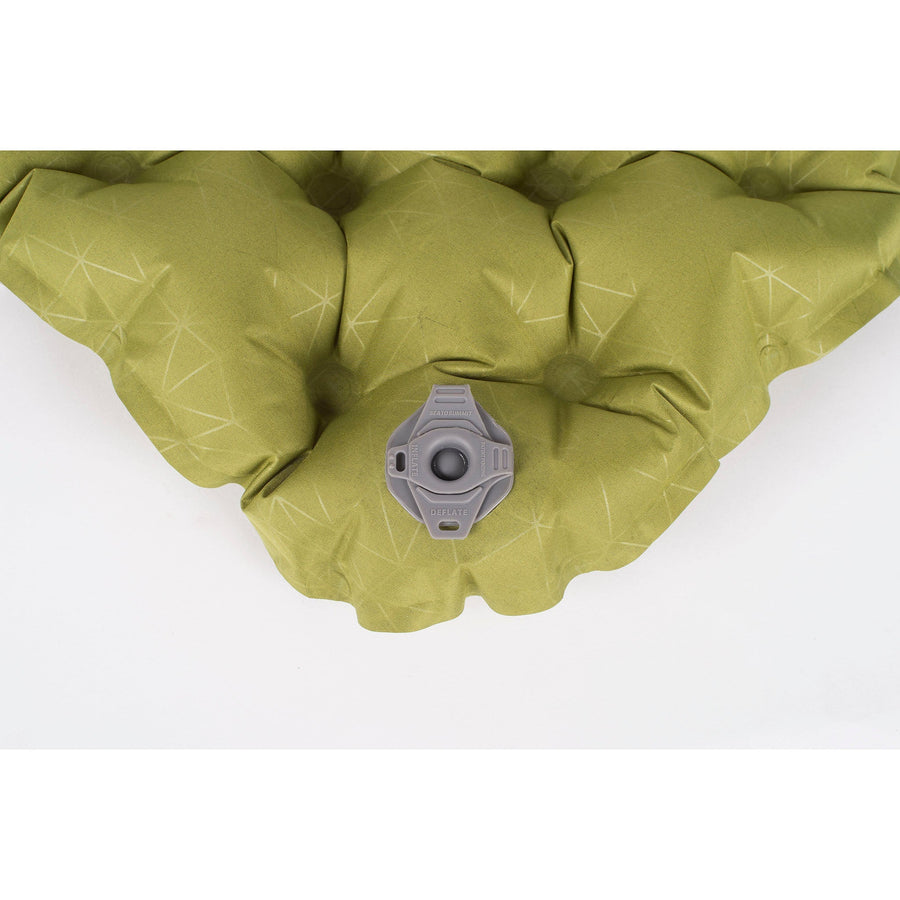
Often overlooked and misunderstood, a sleeping mat will significantly affect how warm you sleep.
Your sleeping mat should be effectively rated to match your night-time temperatures and conditions 90% of the time. You can cater for 10% of harder, colder times with some ingenuity.


A typical indicator of sleeping mat warmth is the R-value (resistance value). R-value is an indicator of a mat’s ability to stop your heat being sucked away by cold snow or ground temperatures. For my current journey through the Andes—ranging from sleeping at sea level to 5300m—I am currently using a women’s specific Comfort Light Insulated Air Sprung Cell mat. It’s a little wider than the unisex versions, allowing me to roll around on my more restless nights. Back, sides and belly—no sleeping style seems compromised due to my mat. It has an R-value of 3.9 (under the new ASTM F3340-18 testing), which I’ve certainly been thankful for on the colder nights.
Hot tip: I highly recommend you give your mat a practice run before you get into the outdoors!
4. Sleeping bags vs. quilts
The snug fit of a sleeping bag is a beautiful thing, they trap the warmth and support you as you roll and move about. The disadvantage can be zippers, which after a few hundred nights might fail. So make sure your sleeping bag has a quality zipper. I’m using an Ember III Quilt on this journey but my previous sleeping bag, the discontinued Latitude II, had YKK zips, which were backed by a solid warranty.
'I’ve heard rumours that sleeping naked maximises your sleeping bag’s warmth—but argue that I would have frozen to death in the High Andes months ago if this was the case.'
The benefit of the quilt is it gives maximum warmth for minimal weight, because you’re not carrying around the bottom half of your sleeping bag—the part that can’t fully loft with your bodyweight on it.
No moving parts also ensures it’ll be failproof. If you roll around a bit, the Sea to Summit quilt has nifty straps to help keep it secured to your mat, ensuring cold air can’t enter between the gaps.
5. Get Down—or synthetic
Both have their advantages and disadvantages. On longer trips hiking or bikepacking, packability and durability are huge factors. I prefer down for such trips due to its compressibility and warmth. However, in the jungle and wet, soggy areas, down might not be the best option, as it can be harder to dry out, subjecting it to mould.


In the Peruvian rainy season, I’ve been opting for the slower mornings so I can dry my quilt while the sun shines. And when a chronic downpour hits, I head to a cheap guesthouse to dry everything. But if packability, weight and longevity aren’t your prime considerations, a synthetic bag can perform really well in wet conditions.
Think Lofty thoughts
850+ down is loftier (it can trap more hot air) than 750+ down and it’s far more packable. Investing in a higher loft value saves you weight and packability while keeping you warmer.
6. Make your sleeping bag warmer
There's a point where you’ll need to fork out for an Alpine bag, but until that point, you can 'MacGyver it'. Here are some clever, and often weightless, ways to extend the comfort temperature rating of your sleeping bag.
Sleeping Liner
Liners can add a few extra degrees to your sleeping bag. They also keep your bag clean, which means it stays nice and lofted (well insulated) for longer. I’ve used my Reactor liner to turn a three-season bag into a four-season bag at the cost of minimal extra weight—all without upgrading to another bag.
Layer up
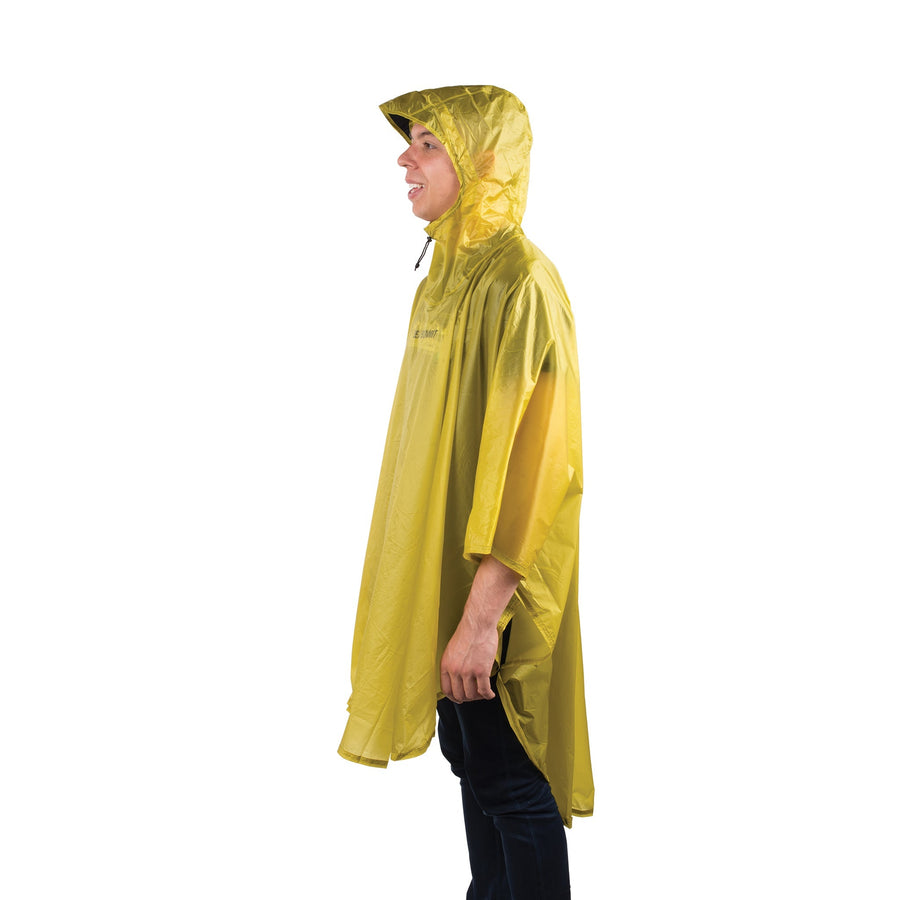
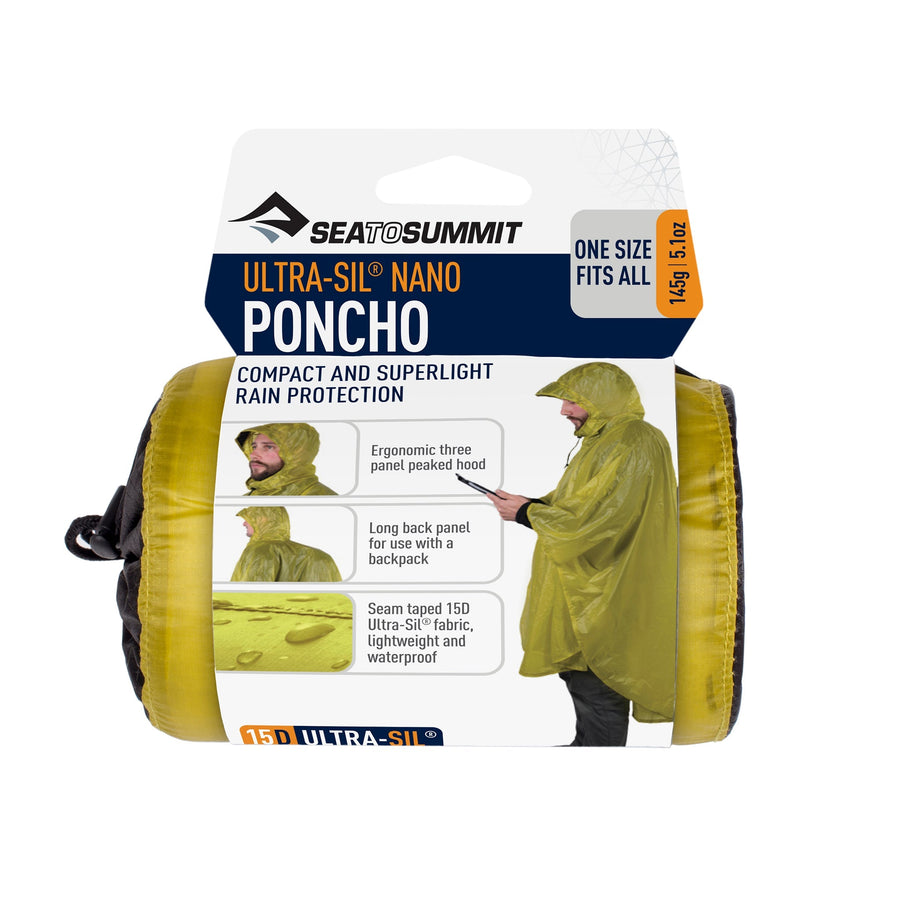
One of the simplest ways to sleep well is by adding a few extra layers when going to bed. Extra clothes can be the difference between shivering all night and sleeping comfortably. Fleece and down layers can easily add a few extra degrees to your sleeping comfort. Rain gear will also add a lot of warmth (if you’re desperate)—by trapping your body’s heat.
I’ve heard rumours that sleeping naked maximises your sleeping bag’s warmth—but argue that I would have frozen to death in the High Andes months ago if this was the case.
'I once had a person do a burnout around my tent—before karma struck and their engine blew up. Still, it was a horrible, sleepless experience.'
Reflective blanket
Although not essential, a heat reflective blanket works a treat if stuck on a very cold night. They work by trapping all the body’s warmth and reflecting it back at you. The only issue is the condensation that forms between the bag and the blanket, especially if you don’t have an opportunity to dry it. They can also be placed under your sleeping mat to prevent cold drafts of snow or soggy camp spots from affecting your slumber.
Big garbage bags
In an emergency, a big garbage bag makes a poor man's reflective blanket. The benefit of the garbage bag is, you can find them everywhere, and you can use them inside your sleeping bag as a makeshift liner. Although, condensation can still be a problem, it’s still better to be wet and warm than dry and cold.
7. CHOOSE THE RIGHT SHELTER
Tent, tarp, single skin, full nylon, bivvy—it’s all a confusing maze of tent jargon. They all once again have their advantages and disadvantages regarding weight, warmth and comfort.


You don’t need a log fire to ensure warmth on your coldest night. Essentially, for anything before the snow hits, you want something that blocks the wind, rain and bugs—unless you’re willing to compromise a little.
I’ve discovered recently that sleeping well isn’t so easy when you’re woken up every ten minutes to a tent collapsing from snow. A good shelter can make a huge difference to sleep quality—and will certainly add a few extra degrees of warmth.
Sleeping warm when hammock camping
In my experience hammock camping, it’s essential to have a barrier preventing cold wafts coming from below. A good sleeping mat is perfect for this.
8. Know where to rest your weary head
A camp pillow is a fantastic way to increase comfort. Especially on colder nights when you want to be wearing your down jacket, instead of resting your head on it. With the Pillow Lock system, you don’t have to worry about your lightweight pillow sliding about in the middle of the night.
9. Go to Bed Warm
Eat a warm meal, remove wet clothing after you set-up camp, change into some nice clean clothes. Have a cup of tea to warm your hands and fill a 1L water bottle with warm water to warm your feet!


You might even want to do some jumping jacks before you go to bed—because insulation doesn’t create warmth, it only holds it.
10. Sleep with the sun, wake with the sun
I cut out bright screens and caffeine before bed. Rather than watching movies, I’ve sent the tablet home and have instead opted for a Kindle, or paperback, and my headlamp. I read until I’m wafting into dreamland and consistently sleep well—probably because I’m exhausted.
11. Set up camp in the right spot
Angled campsites always provide the same misfortunes—sliding off the mat, rolling about, bumps and lumps. Walk that little bit further for a better night’s sleep. Avoid exposed open areas, trees with dead hanging limbs, and use natural vegetation for wind cover.
Pay attention to where the sun sets and where the sun rises! Morning light on the tent is one of life’s great miracles.


12. Make sure you’re alone
The other part of the equation to sleeping well in the outdoors is to ensure you’re safe.
One of the many things I've learnt from bikepacking and wild camping is to make sure you’re away from prying eyes. In my experience, you want to be as far from the road as possible. Invisible and inconspicuous.
You don’t want to be strung out in the view of someone’s headlights or listening to loud music. I once had a person do a burnout around my tent—before karma struck and their engine blew up. Still, it was a horrible, sleepless experience.
13. If you need to pee, pee
Mark my words—don’t hold the urge! An emptied bladder, no matter how cold it is outside, is better than a full one.
HOT TIP: Air out your sleeping bag
To extend the life of your sleep system, and make sure you’re ready for your next journey, it’s good to get into the habit of letting all your gear air dry after any trip. Sleeping mats and bags are particularly susceptible to mould if stored away with a tiny bit of moisture.
14. Save your breath
To avoid moisture and warm air inside my sleeping mat, I use an Airstream Pumpsack. I find they do a perfect job of adding the perfect amount of air with minimal effort. They’re ingeniously built into the stuff sack of Sea to Summit mats now!
Warm air takes up more volume than cold air so if you’ve inflated your mat with your breath, the warm air can condense during the night, leaving you with a sagging mat come morning. Using a pump sack will also prevent your sleeping mat smelling of your last meal.
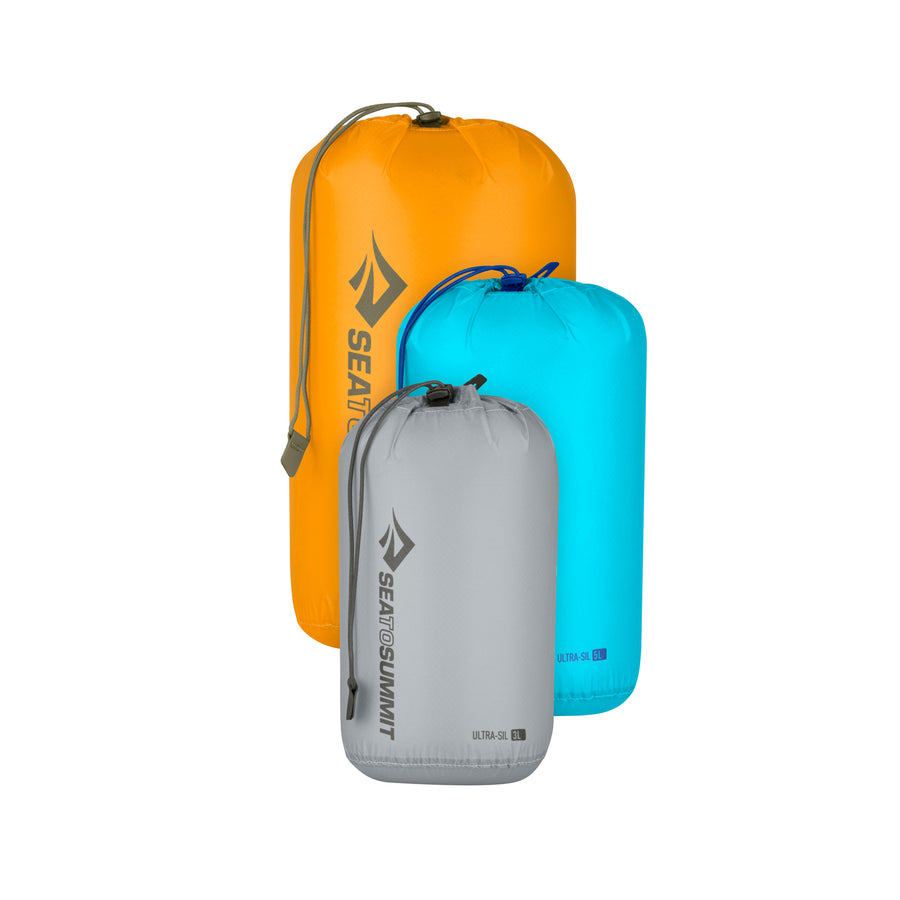
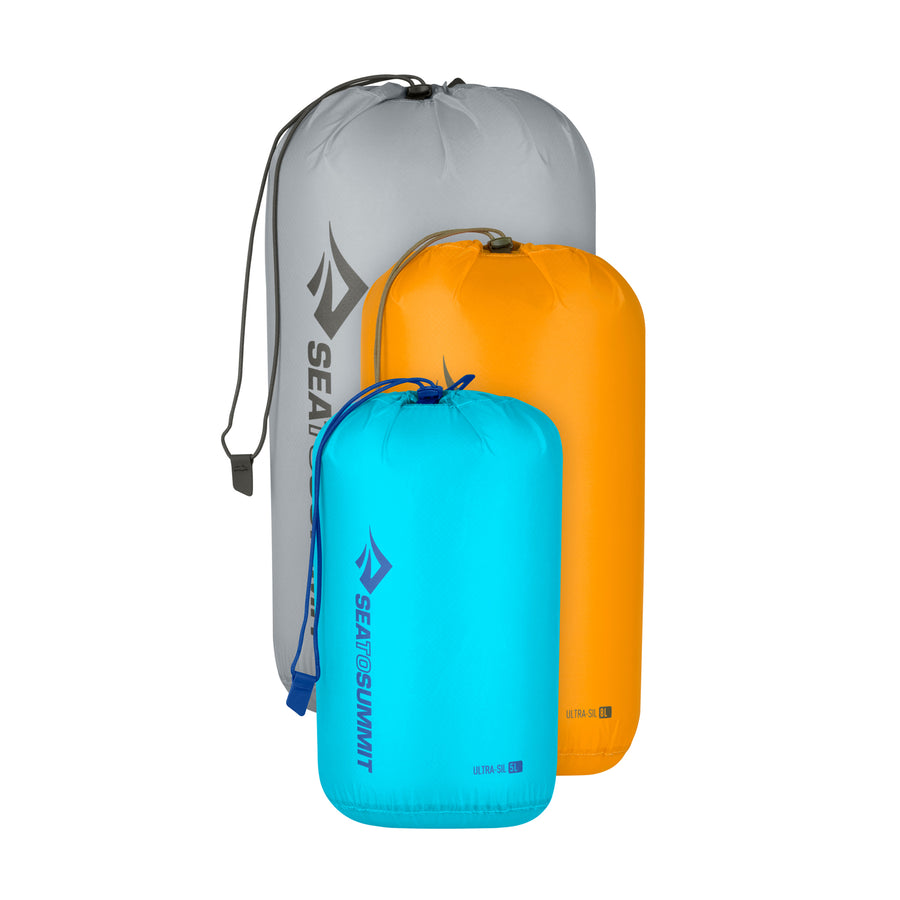
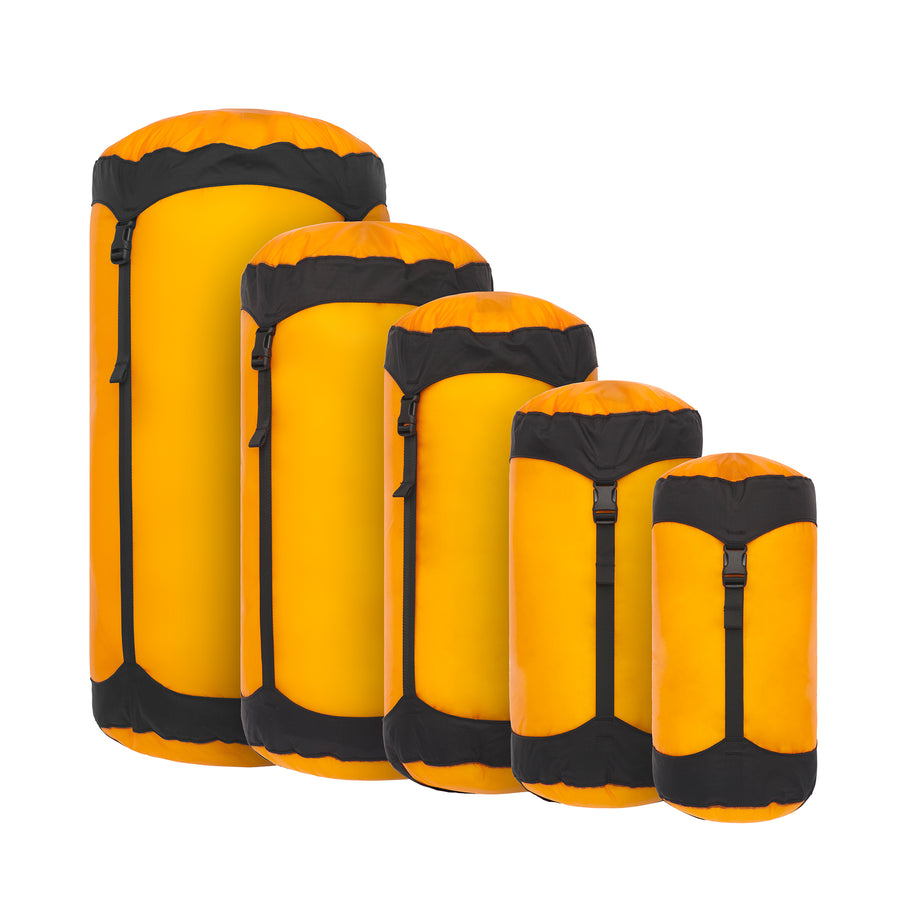
15. Stay dry
I ensure my bags are always stored in dry compression sacks both for the downpours and to maximise packability.
Compression sacks are great for the road but when you get home you should store your down sleeping bag in an uncompressed state to extend the life of the down.


For long-term trips through multiple climatic zones, find something comfortable in the middle ranges. Look at the temperature differences throughout your trip and be aware of what to expect on your warmest and coldest nights. It’s easy to buy extra warm layers anywhere in the world, but it's often hard to find good gear in developing countries.
The Multi Season Trip
I started my trip before The Sea to Summit Sleep System Finder existed, yet it recommended an almost identical sleep system for my journey. I wish I had it before I started! It takes the fear of the unknown, and all the technical jargon out of the equation and lets you get out on the road with minimal effort. I can’t recommend it enough.
16. Trust your sleeping gear
Sleep with a light conscience—by buying things once. Investing in a good system that's durable, reliable and backed by warranties should serve you well for years (if they’re looked after). Second-hand is also a great option, especially with the extensive avenues for obtaining outdoor gear now.
Follow your gut instinct, get the best you can afford and think about what you’re most likely to use well into the future—it’ll serve you better than the budget option. It’ll also ensure that you’re always ready to keep enjoying and protecting our beautiful wild places.
FOLLOW THE JOURNEY
@thenathannorth
Photo credits: @thenathannorth and @kylehughesphoto

![[12 Pack] || Wilderness Wipes](http://seatosummit.eu/cdn/shop/files/AWWC_WildernessWipes-12PackWhite_PRIMARY-1200x1200-9239c17.jpg?v=1755780879&width=900)
![[8 Pack] || Wilderness Wipes](http://seatosummit.eu/cdn/shop/files/AWWXL_WildernessWipes-8PackWhite_PRIMARY-1200x1200-9239c17.jpg?v=1755780878&width=900)


![Ground Control Light Tent Pegs - [6 Pack]](http://seatosummit.eu/cdn/shop/products/PhotoTemplate-01_3e8eda34-b29a-42f6-a848-99cc69777362.jpg?v=1650962712&width=900)
![Ground Control Light Tent Pegs - [6 Pack]](http://seatosummit.eu/cdn/shop/products/PhotoTemplate-02_de966814-4060-4e05-8580-3102090c93ce.jpg?v=1650962712&width=900)